
How to Offer Installment Payment Plans in WordPress – Easy Way
By
|
Last updated on
Do you want to offer interest-free installment payment plans in WordPress?
Offering installment plans is a win-win for both you and your customers.
It enables you to make your products and services affordable for most of your potential customers, in turn increasing your sales and revenue. And for your customers, it gives them flexibility over how they pay for their purchases.
In this article, we’ll show you how to offer installment payment plans in WordPress.
Enabling Installment Payment Plans in WordPress
Using a Stripe plugin, like WP Simple Pay, is the easiest way to offer installment plans on your WordPress site.
With WP Simple Pay, the best Stripe plugin for WordPress, you can accept Stripe payments on your site in a few different ways.
- Buy Now Pay Later: WP Simple Pay supports 2 different short-term financing services, Klarna and Afterpay/Clearpay, to offer Buy Now Pay Later services on your site.
- Recurring Payments: Offering recurring payments is the best option for automating your billing, so you’ll have fewer late or missing payments.
- Accept Google Pay/ Apple Pay: Allow your customers to make payments with their preferred digital wallet.
Keep in mind that in order to accept Stripe payments on your site, Stripe requires you to use SSL/HTTPS encryption. Don’t worry if you don’t have an SSL certificate yet! All that you need to do is to follow this step-by-step guide on how to add SSL in WordPress.
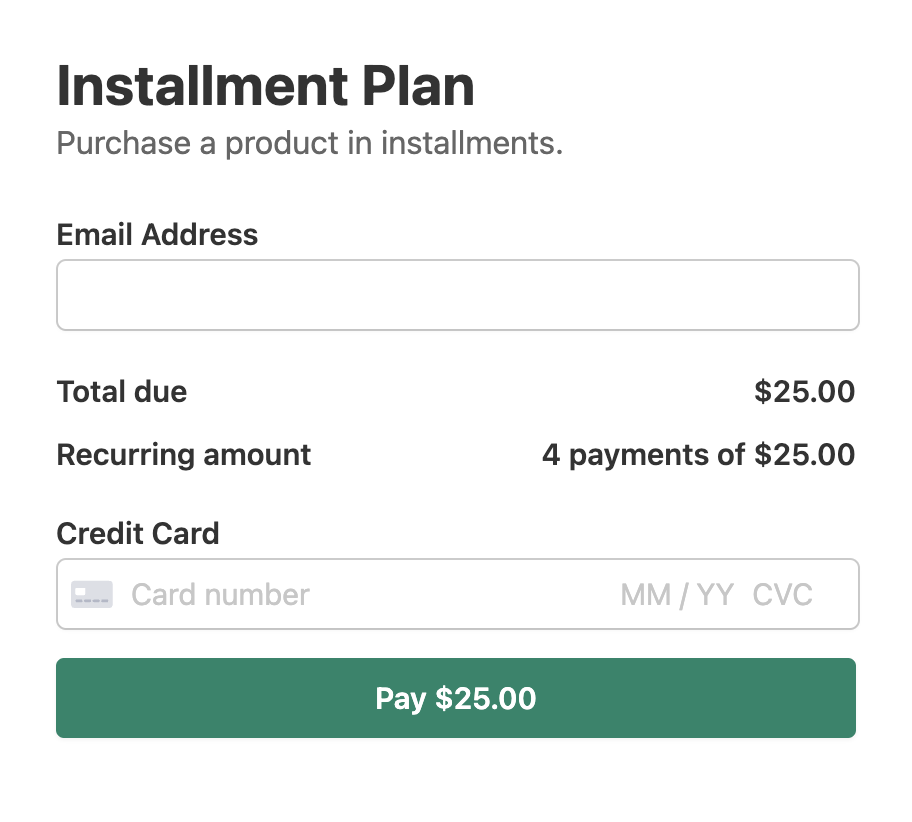
Here’s the installment payment plan form we’re going to create with this tutorial.
Step 1: Install WP Simple Pay to Offer Installment Plans
First things first. In order to offer installment payment plans on your site, you’ll need to install and activate the WP Simple Pay plugin on your site.
For more details, see this step-by-step guide on how to install WP Simple Pay.
Remove the additional 3% fee!
Most Stripe plugins charge an additional 3% fee for EVERY transaction
…not WP Simple Pay Pro!

If you didn’t see the setup wizard, simply head over to WP Simple Pay » Settings » Advanced tab and click the Launch Setup Wizard button.
Step 2: Connect WordPress to Stripe
To connect your WordPress site to Stripe, click Connect with Stripe.

Next up, enter the email address you use for your Stripe account and connect it with your site. If you don’t have a Stripe account, you can easily create one by entering your email address and completing registration.

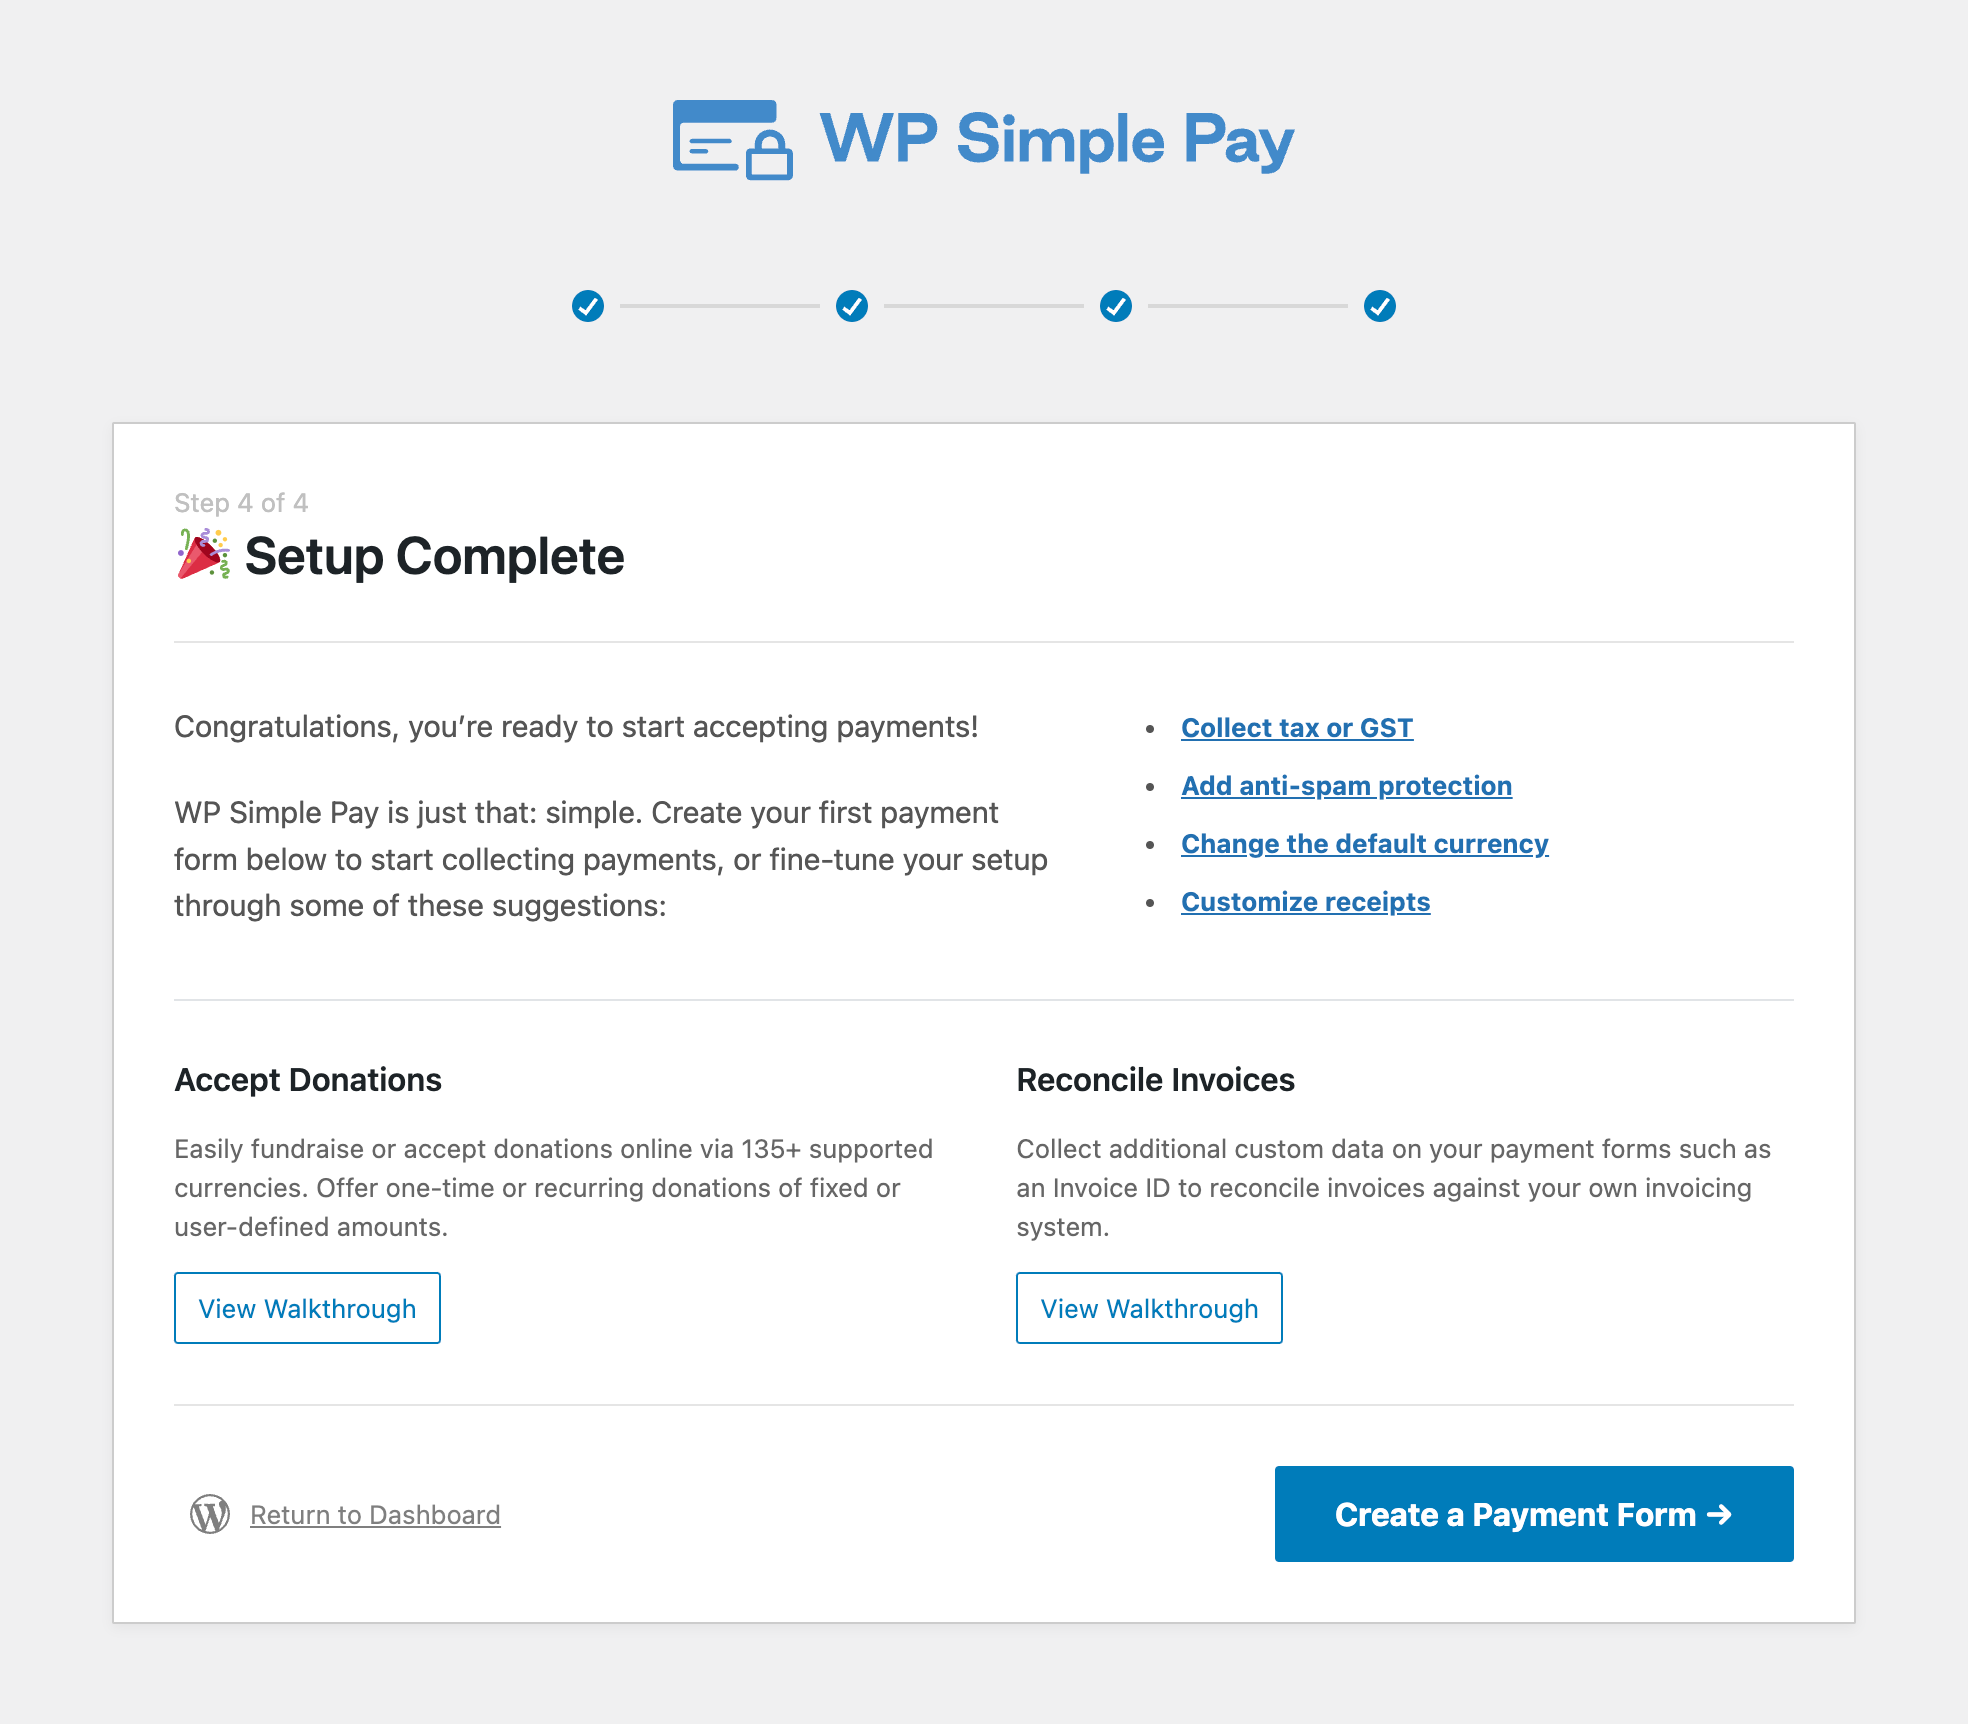
Upon completing this process, you’ll be shown a success page that says Setup Complete. Next, to create a payment form, click on the Create a Payment Form button.
Step 3: Enable Installment Plans With Stripe
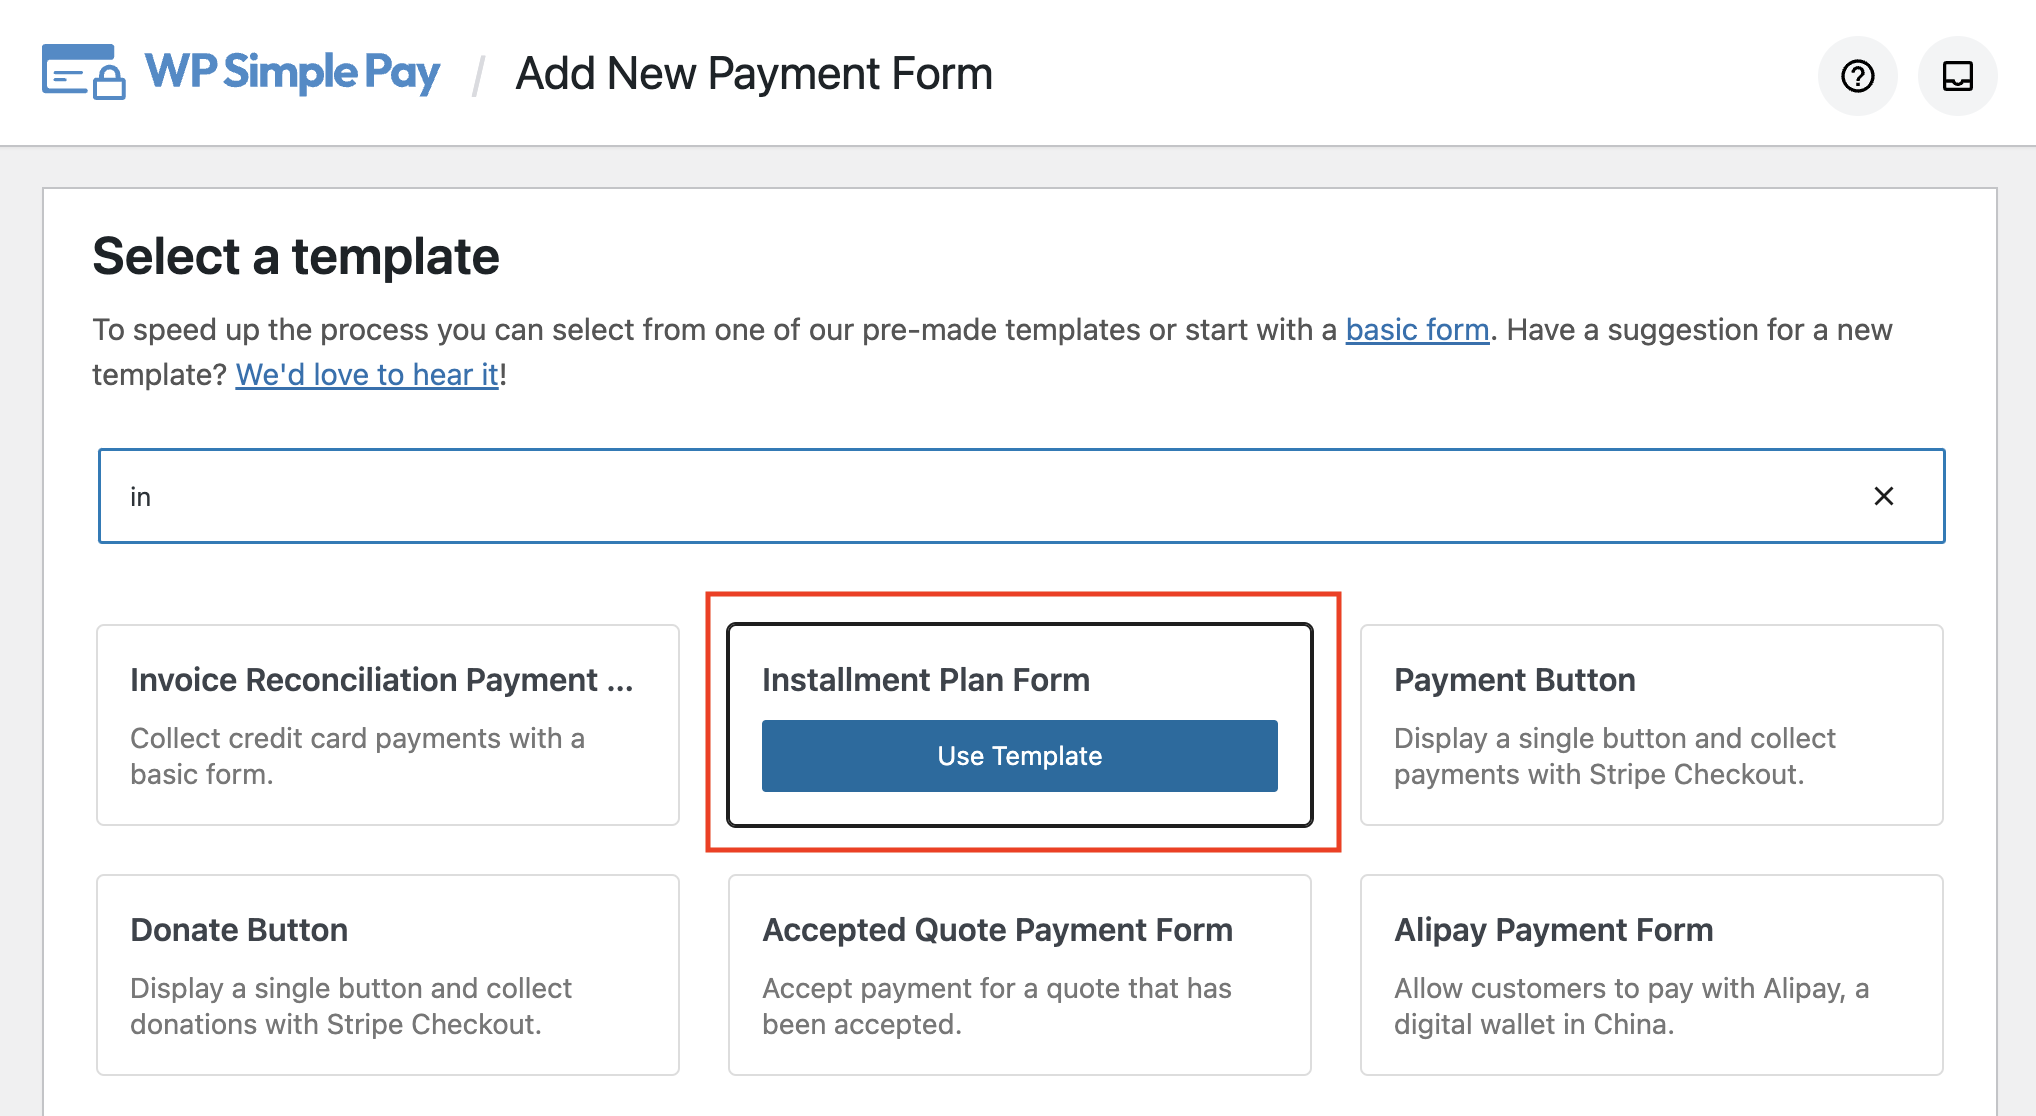
Upon clicking the Create a Payment Form button, you’ll be asked to choose a payment form template.
Since we want to accept payments via multiple installments, let’s select Installment Plan Form.
In case you skip the setup wizard after activating WP Simple Pay, you can create a payment form by going to WP Simple Pay » Add New.
After selecting the right template, you’ll be prompted to configure the form. In the General settings, you can customize the title, description, and a few other elements of your form.
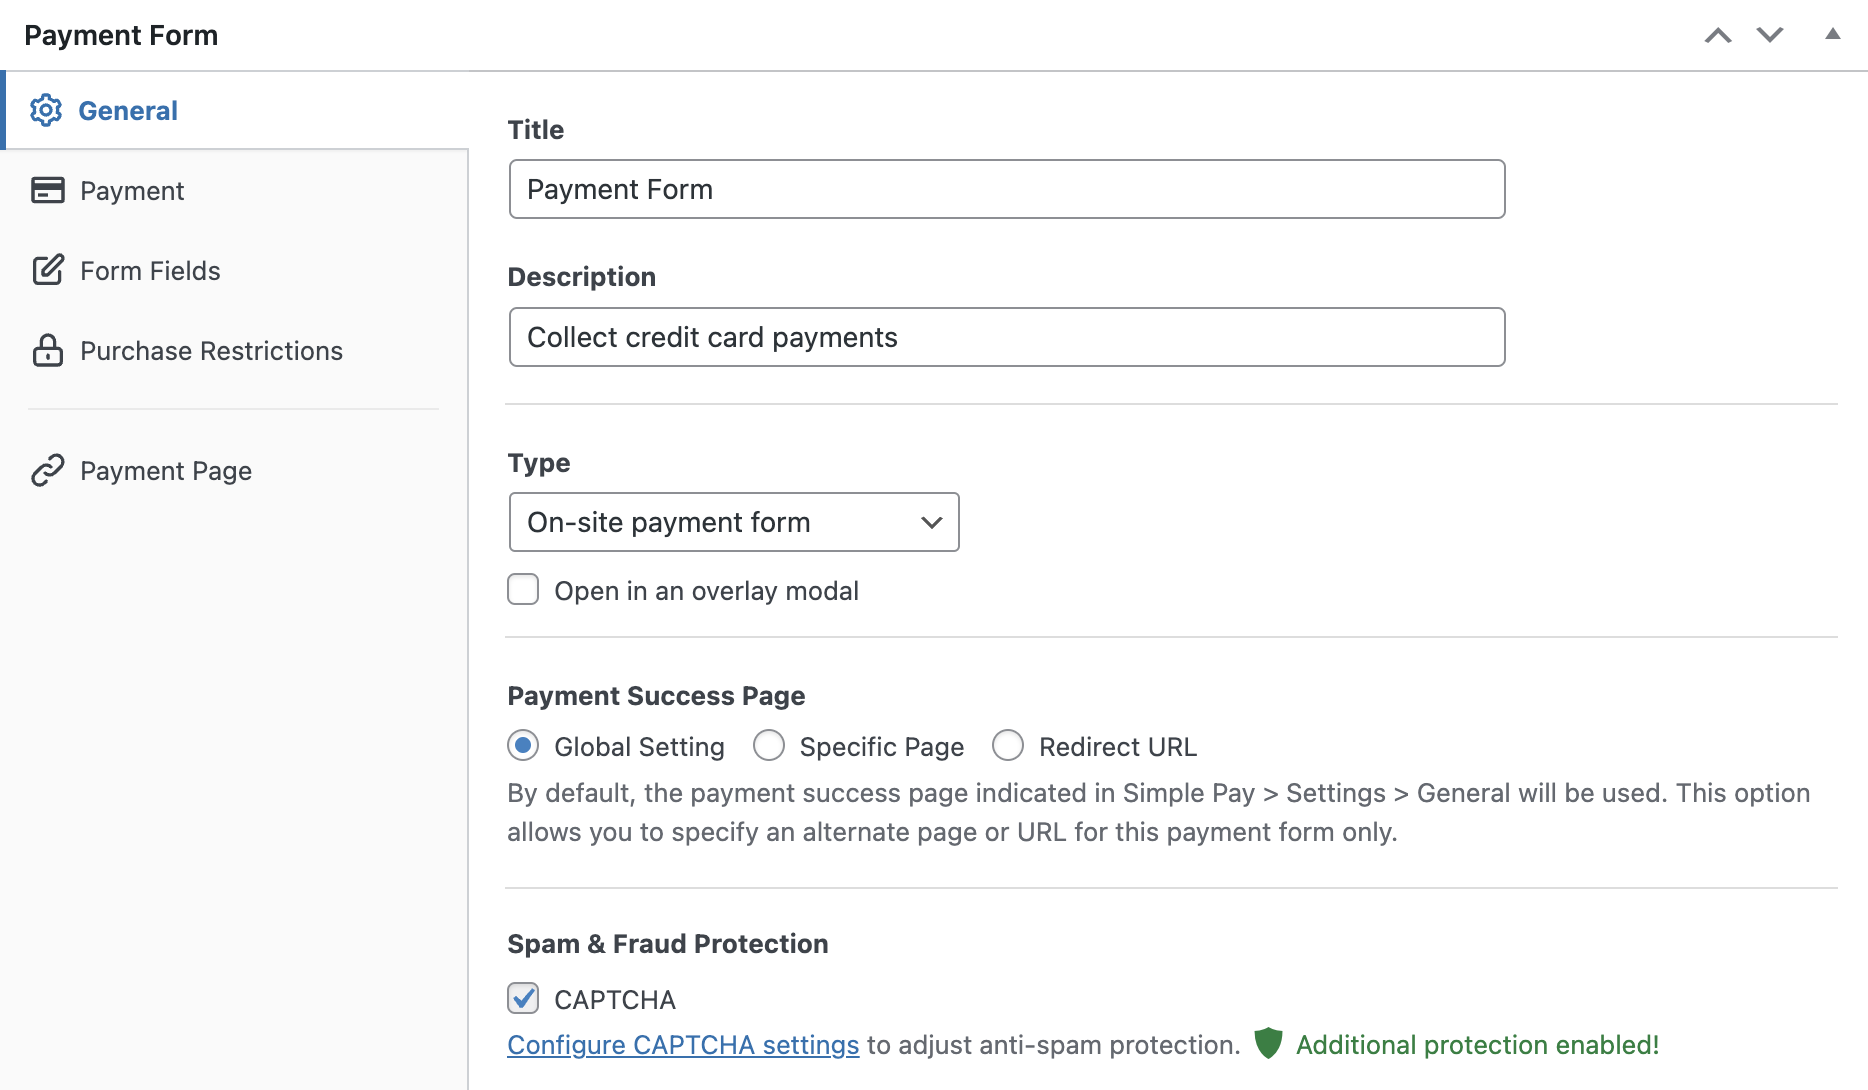
By default, On-site payment form is chosen as your payment type. If you want to host the form on Stripe instead of hosting it on your own site, you can choose Off-site Stripe checkout form. For more details, check out the complete guide to setting up Stripe checkout on your site.
WP Simple Pay also lets you change the Payment Success Page in General settings. To choose a success page that’s created specifically for this form, you can select Specific Page or if you want to redirect users to an external site, choose Redirect URL.
Now let’s choose the Payment option on the left to configure payment settings. From this page, you can add new prices, change the currency, amount, and select between one time or subscription payments. Since we’ve chosen a template for installment plans, Subscription option has been chosen by default.
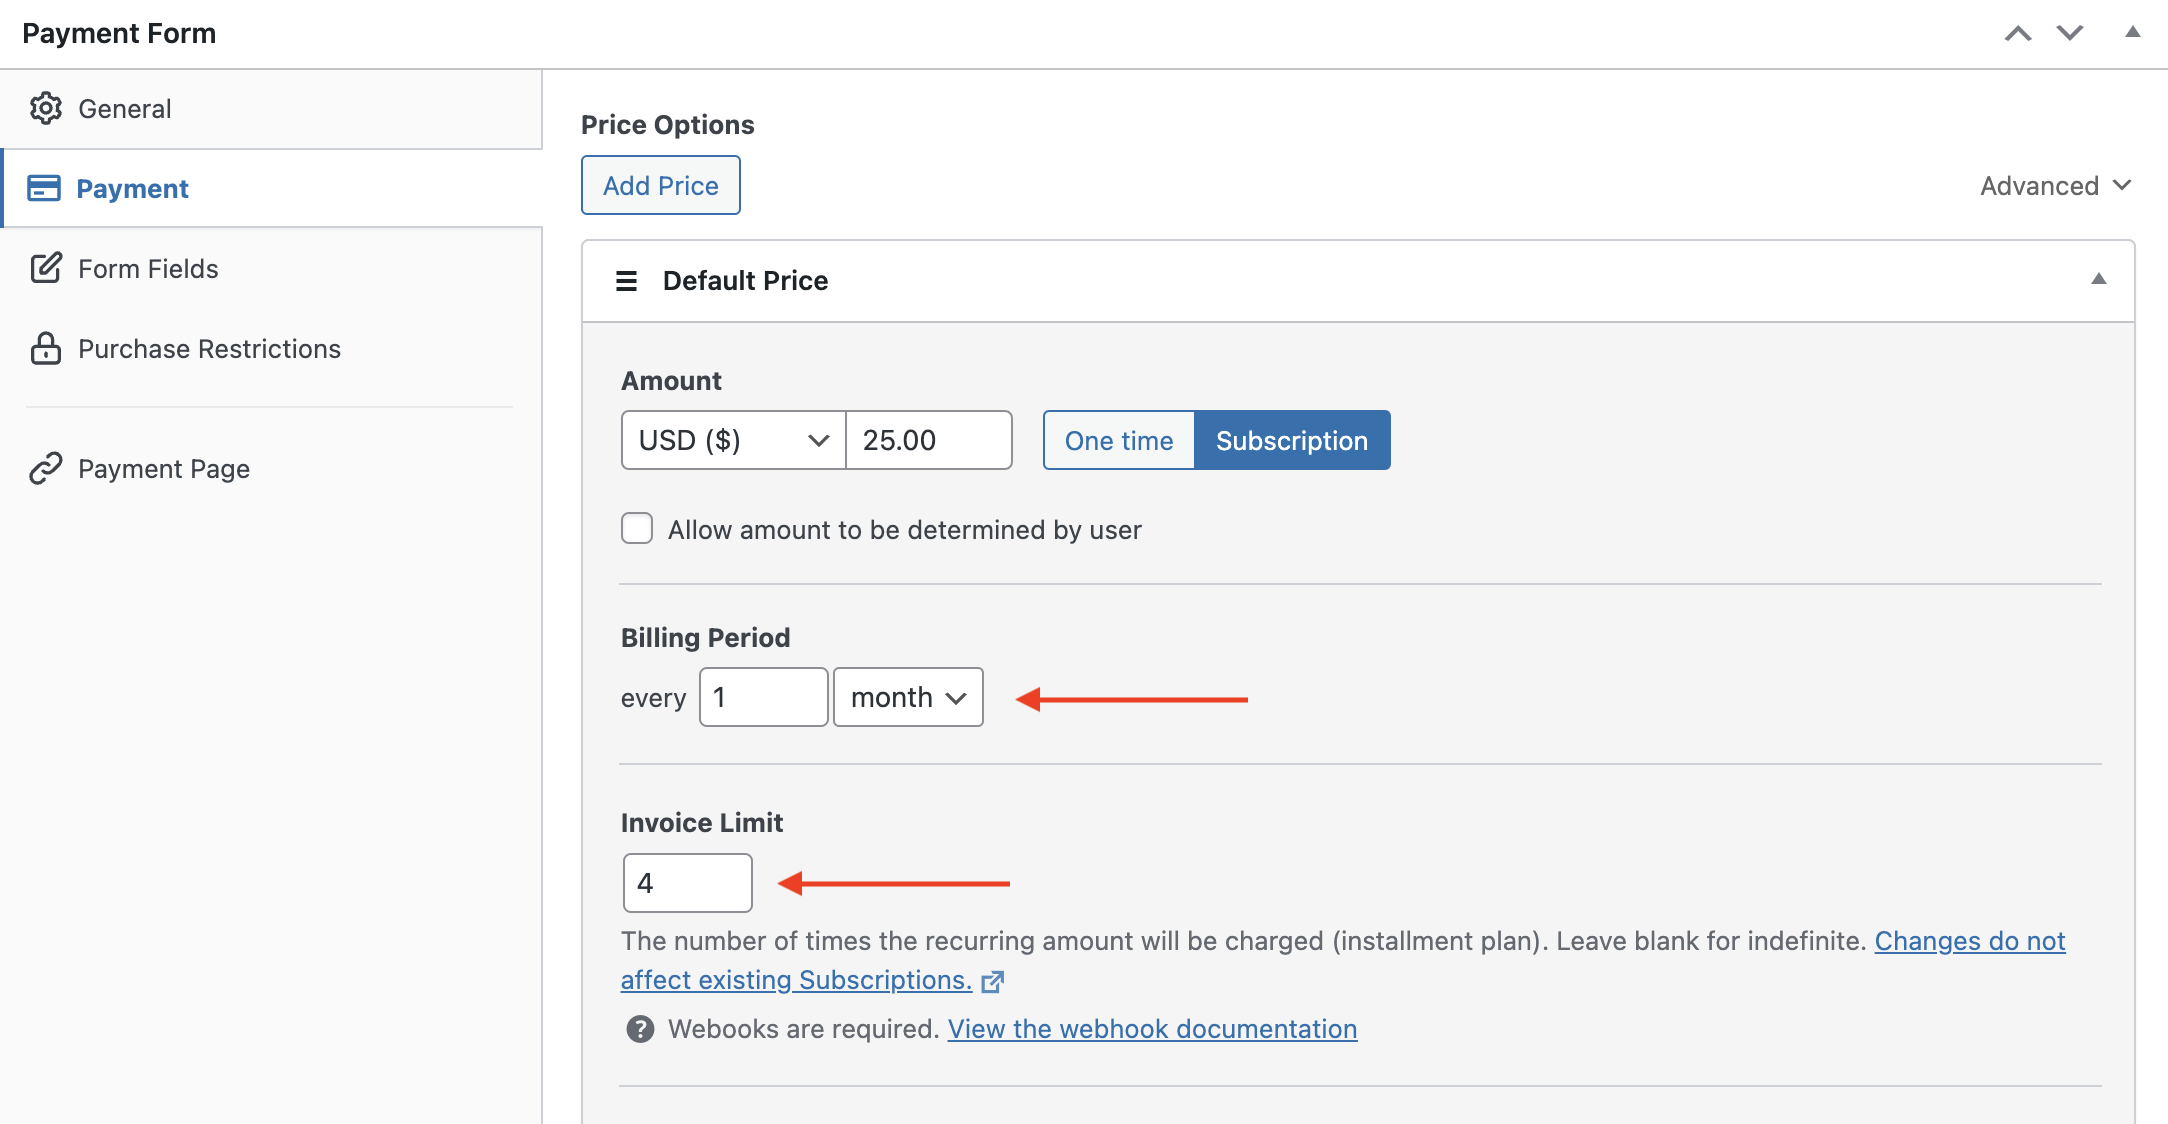
As you can see in the screenshot, the Billing Period has been configured as every month. Feel free to change it per your needs.
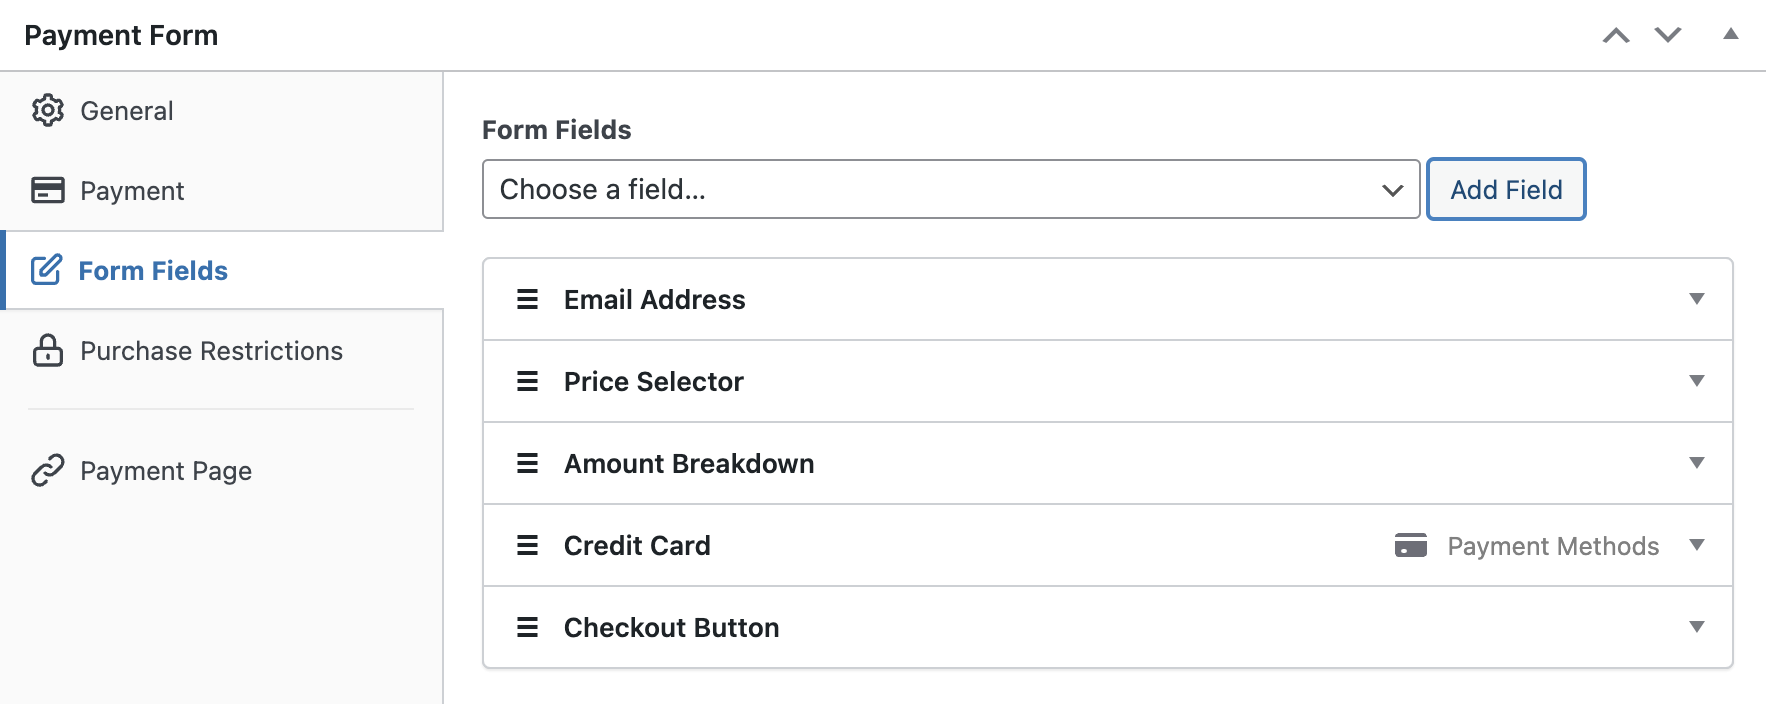
In the Form Fields option, you can even add or customize any existing form fields. To show which plan your customers are opting for, you can add the Amount Breakdown field to this form. That way, you can show Total due and Recurring amount in the live form.
Step 4: Publish Your Form on Your Site
That’s it! You’re now ready to accept payments via installments on your site. Let’s go ahead and publish your form by clicking the Publish button on the right-hand side.
Make sure you test the form first before it goes live. You can toggle your entire site or individual payment forms between test and live modes (read more about Test mode).
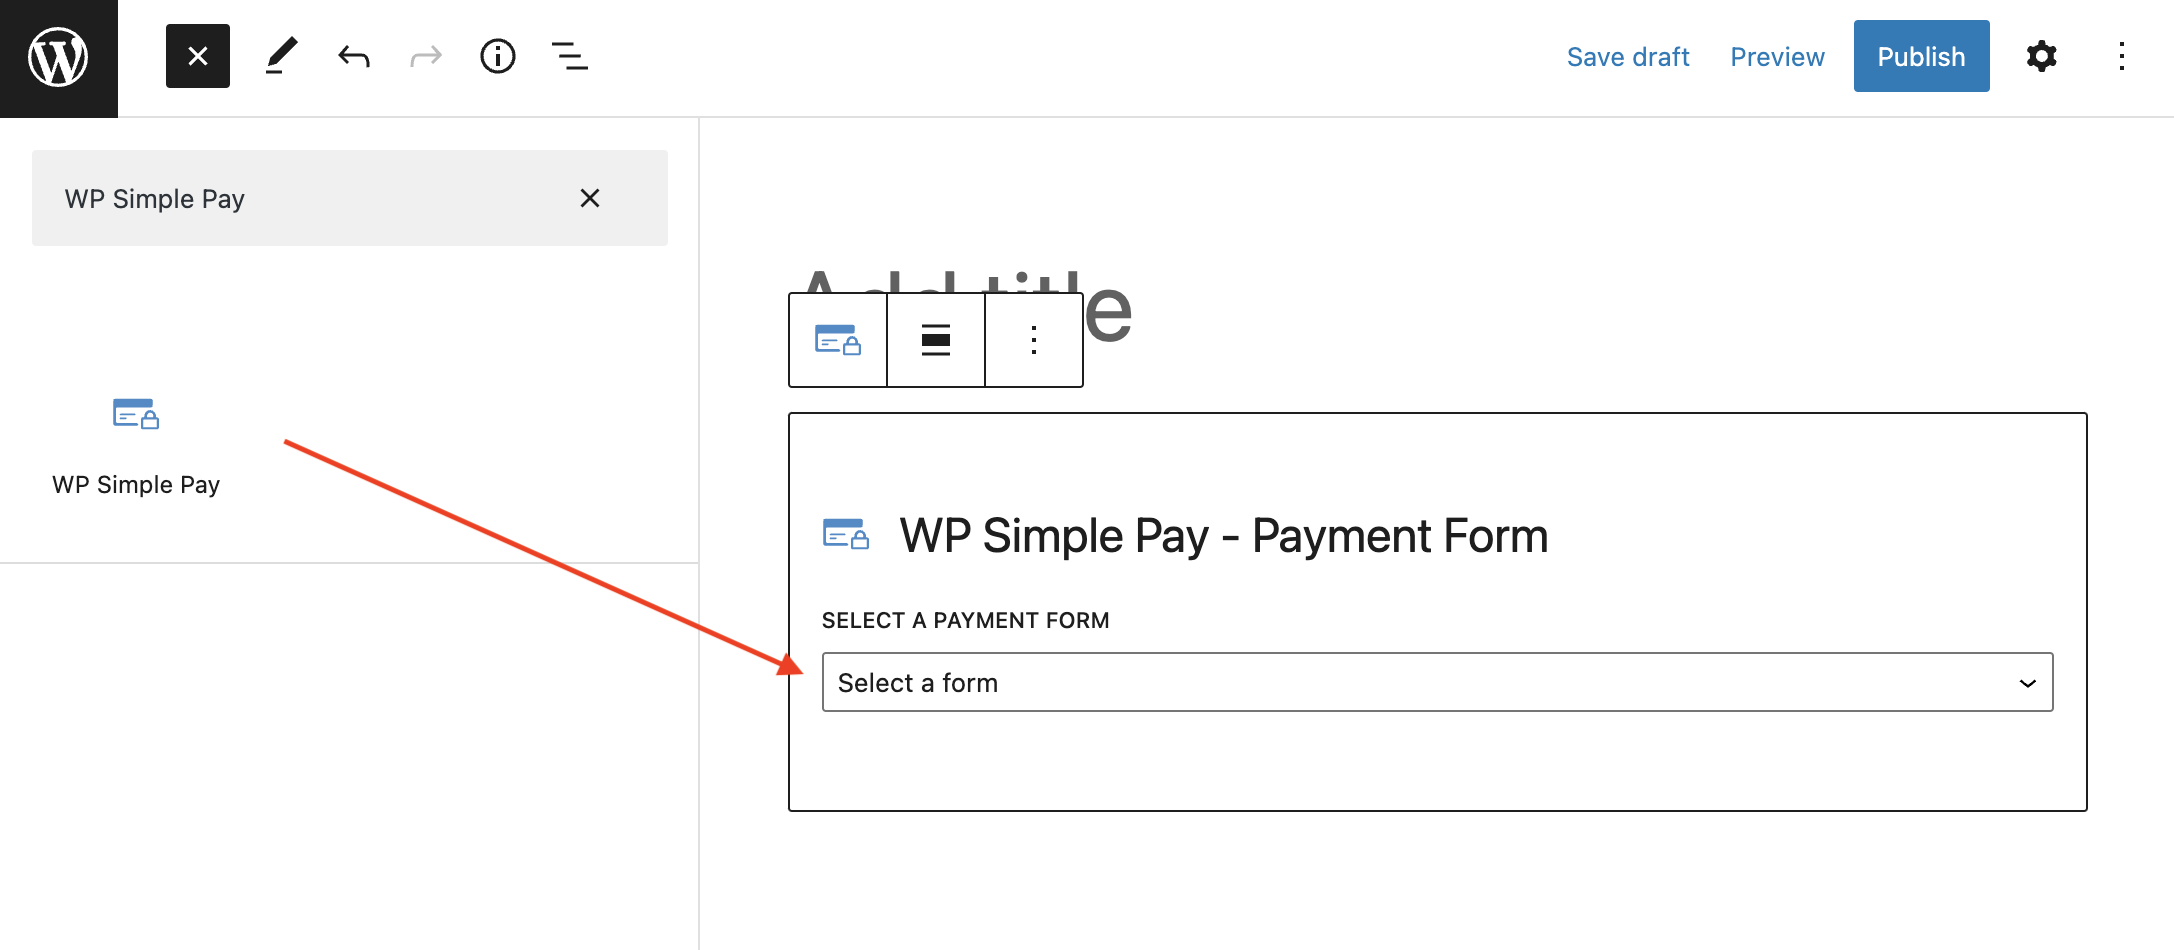
To embed the form, go to the post or page where you want to publish it. Then click on the + icon to add the WP Simple Pay block. Then choose a form you just created. And then, click Publish or Update.
We hope this article helped you learn how to offer installment payment plans in WordPress.
If you liked this article, you might also want to check out how to accept Google Pay / Apple Pay / Microsoft Pay in WordPress.
Start using WP Simple Pay today and enable all the advanced Stripe features on your site.
To read more articles like this, follow us on Facebook and Twitter.

Leave a Reply