
How to Accept Bacs Direct Debit Payments in WordPress
By
|
Last updated on
Do you want to accept Bacs Direct Debit payments on your WordPress site?
Bacs Direct Debit is the most popular payment method in the UK for both large and recurring payments, accounting for over 14% of all transactions made by consumers. It allows UK customers to check out simply by entering and verifying their bank account details.
In this article, we’ll guide you through the process of creating payment forms for your site that allow you to accept Bacs Direct Debit payments in WordPress.
Why Accept Bacs Direct Debit?
First and foremost, if your online business is based in the UK, accepting Bacs Direct Debit is a smart choice because bank debits have low dispute rates. This is an easy way to avoid chargebacks as well as frequent returns and refunds.
Additionally, if your business offers recurring professional services or high-value products, accepting Bacs Direct Debit is strongly recommended because it is the most widely used payment method for large purchases and recurring subscription payments in the UK.
Depending on your payment processor, Bacs Direct Debit also typically allows you to save on processing fees.
For example, with Stripe, the fee is just 1% starting at 20p, and capped at £2.00, compared to the standard card fee of 1.5% + £0.20.
How to Accept Bacs Direct Debit in WordPress
Now that you know more about Bacs Direct Debit, let’s create a payment form that allows you to easily begin accepting the payment method on your WordPress site.
The best way to accept Bacs Direct Debit on your WordPress site is to use a Stripe payments plugin that supports the payment method.
WP Simple Pay is the #1 Stripe payments plugin for WordPress that allows you to easily accept Bacs Direct Debit payments. The plugin also allows you to accept several additional payment methods, including ACH Direct Debit, traditional credit and debit cards, various digital wallets (Apple Pay, Google Pay, Microsoft Pay), Buy Now, Pay Later services, and more.
WP Simple Pay also allows you to:
- Easily create the perfect payment forms without code using the plugin’s advanced drag-and-drop form builder.
- Automatically send your customers or donors customized payment confirmation emails for individual payment forms.
- Provide your customers with a frictionless checkout experience with branded landing pages that host your payment forms.
- Collect the full net amount by passing the additional Stripe processing fee to your customers.
- And more…
Remove the additional 3% fee!
Most Stripe plugins charge an additional 3% fee for EVERY transaction
…not WP Simple Pay Pro!
For Bacs Direct Debit payments, WP Simple Pay conveniently offers a pre-built template that lets you create a payment form in minutes.
For this tutorial, we’ll be creating a payment form that functions like the one below.
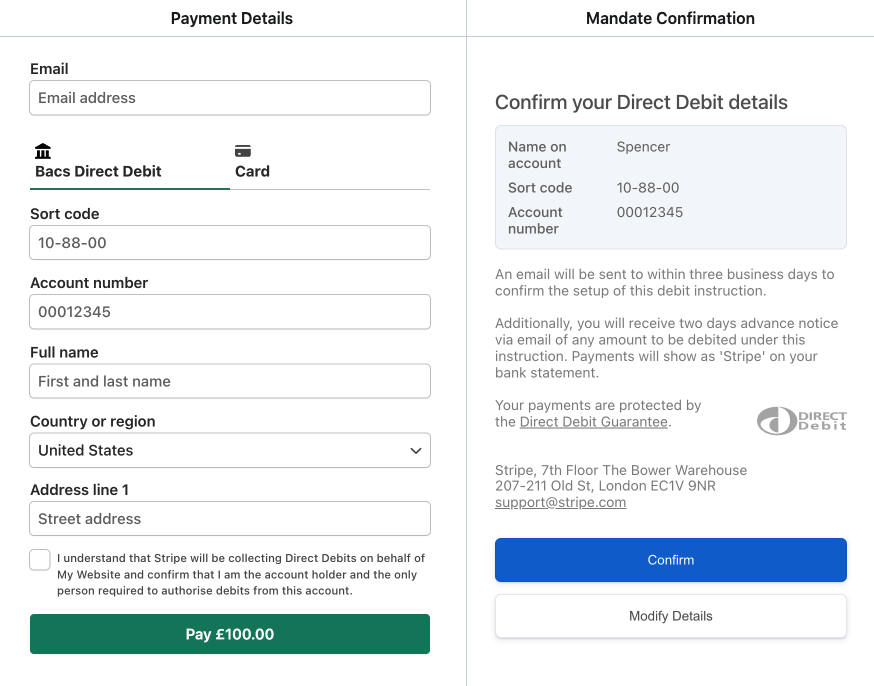
As you can see, once your customer fills in the required fields, a Mandate Confirmation is displayed for them to confirm their bank details. Further instructions regarding their direct debit payment are provided.
To help you begin offering Bacs Direct Debit to your UK customers, let’s get started by creating a payment form using WP Simple Pay.
Step 1: Install and Activate WP Simple Pay
To create a Bacs Direct Debit payment form, the first thing you’ll need to do is install and activate WP Simple Pay in WordPress.
To do this, simply visit the pricing page and choose the best plan for your specific needs. Keep in mind that to accept Bacs Direct Debit, you’ll need either the Pro or Elite plan.
Then, locate the .zip file you received in your email confirmation and download it to your computer. You can also find the .zip file in your WP Simple Pay account.
Next, upload the file to your WordPress site. If you need additional instructions, see our step-by-step guide on how to install the plugin.
Once the plugin has been installed and activated successfully, be sure to click on the Let’s Get Started button to launch the setup wizard.

If you didn’t see the setup wizard, simply head over to WP Simple Pay » Settings » Advanced tab and click the Launch Setup Wizard button.
Step 2: Connect WordPress to Stripe
To connect your WordPress site to Stripe, click Connect with Stripe.

Next up, enter the email address you use for your Stripe account and connect it with your site. If you don’t have a Stripe account, you can easily create one by entering your email address and completing registration.

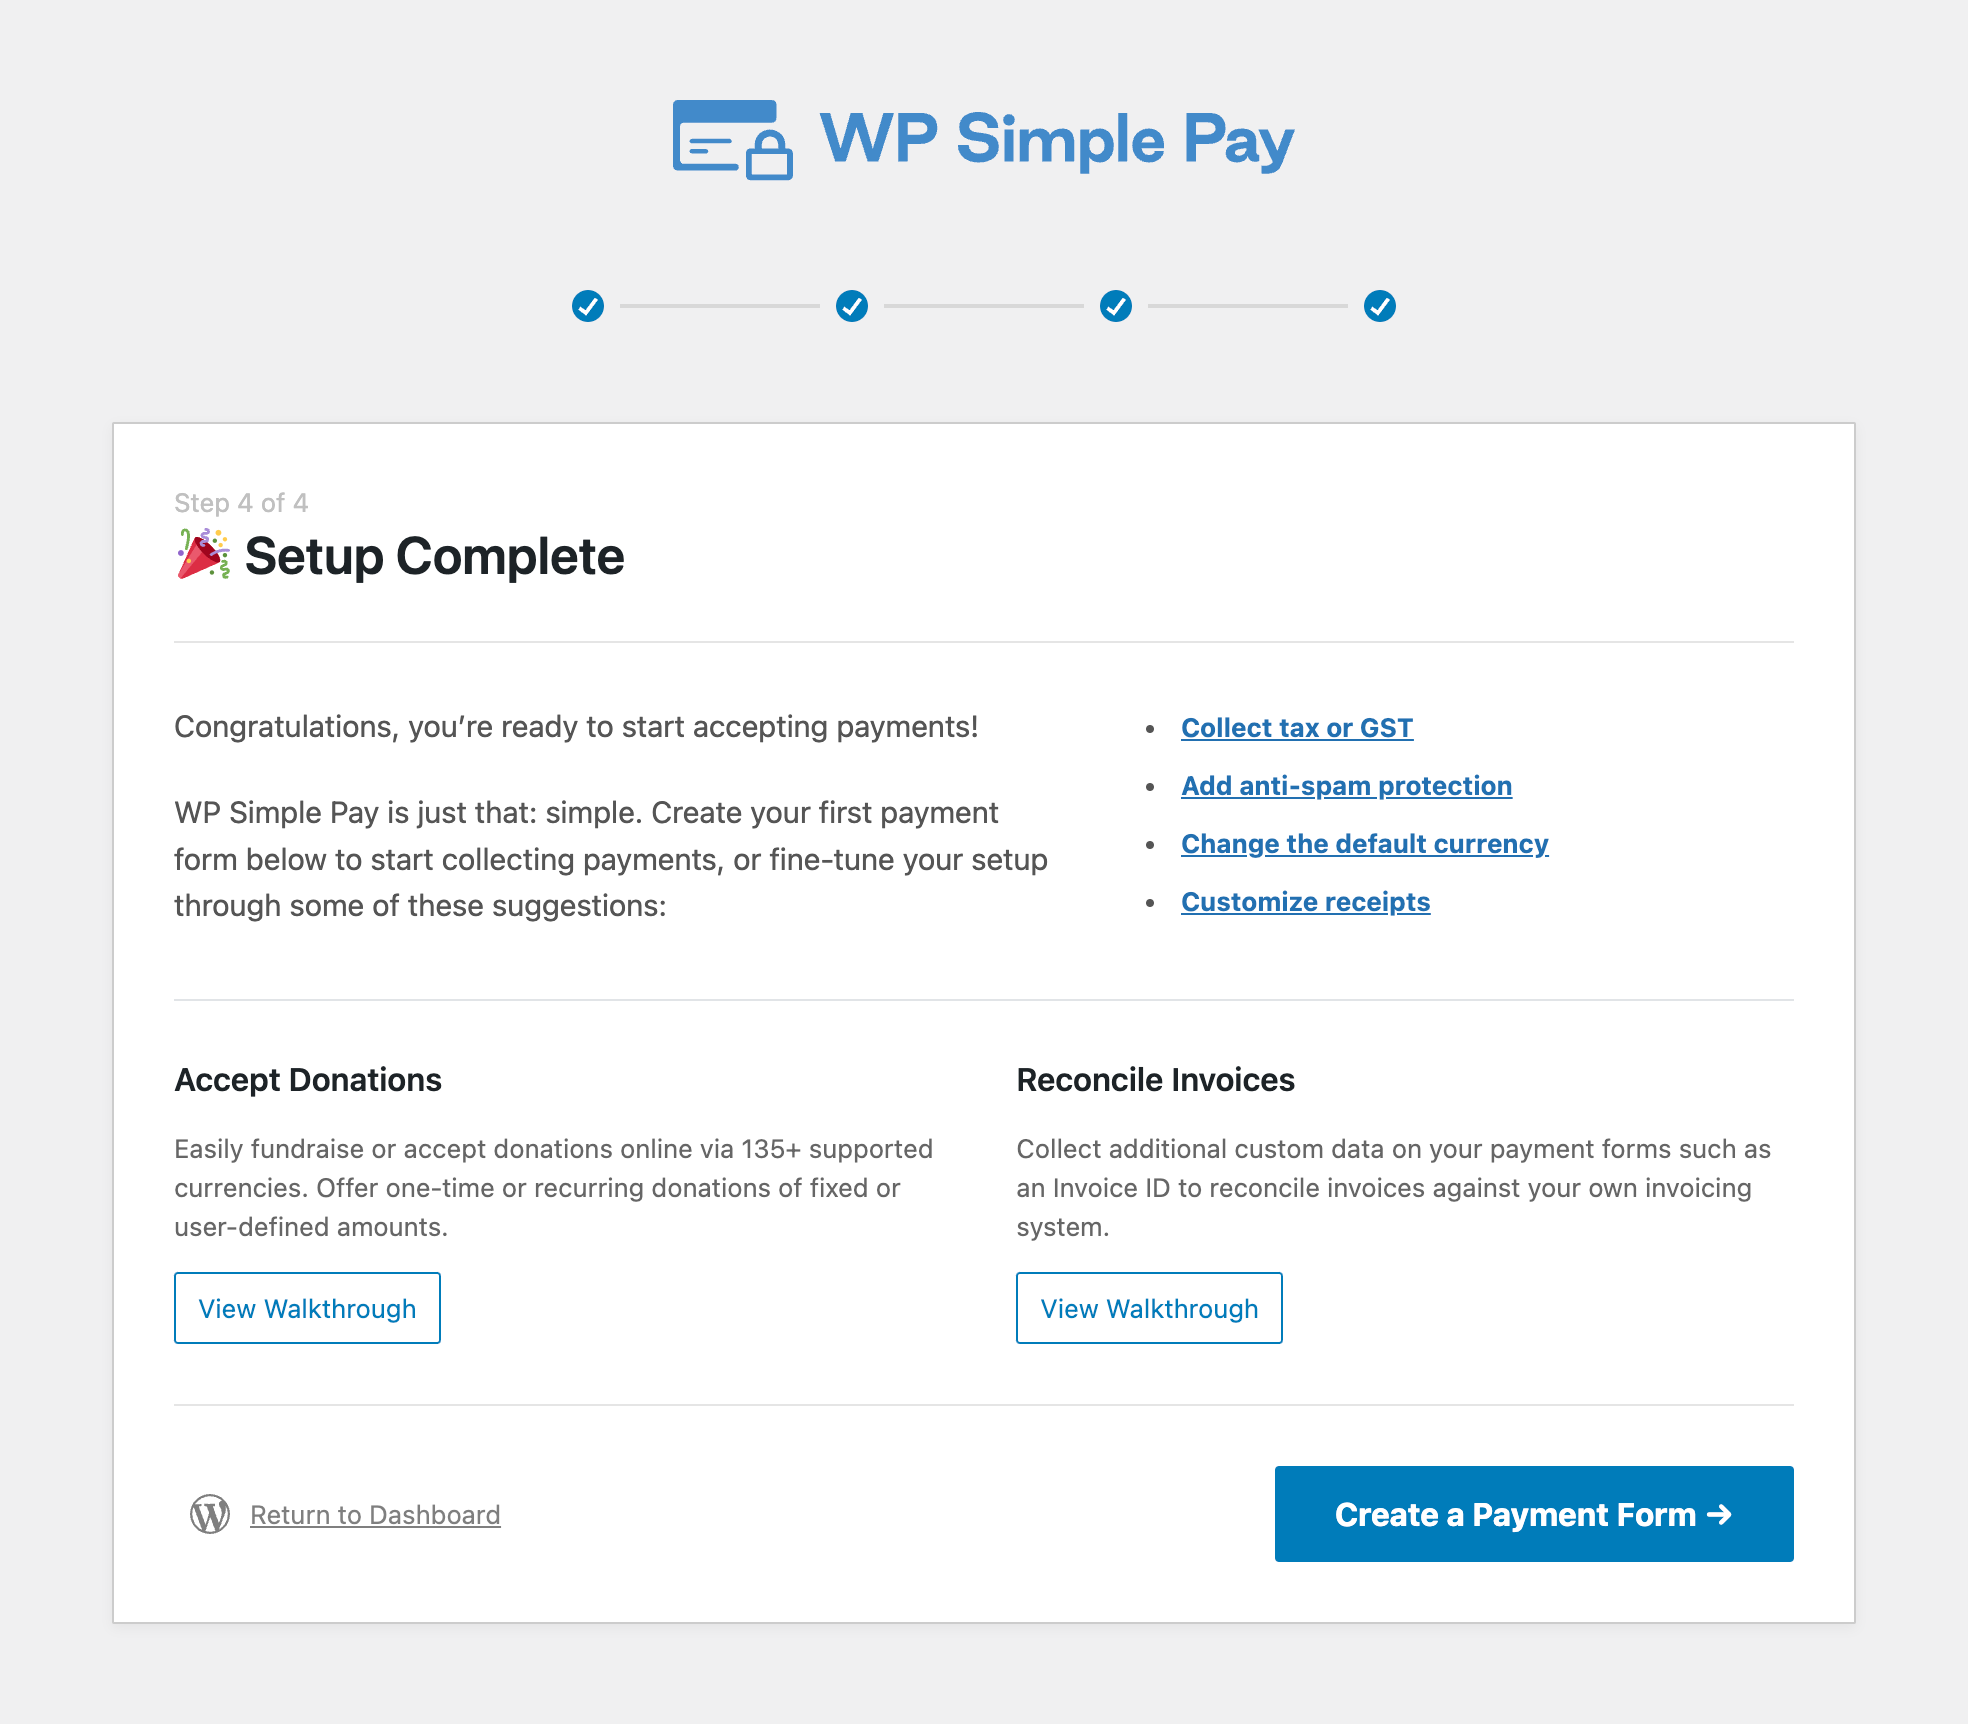
Upon completing this process, you’ll be shown a success page that says Setup Complete. Next, to create a payment form, click on the Create a Payment Form button.
Step 3: Create a Bacs Direct Debit Payment Form
Now that you’ve installed and activated WP Simple Pay on your WordPress site and connected your Stripe account via the setup wizard, it’s time to create a payment form that accepts Bacs Direct Debit.
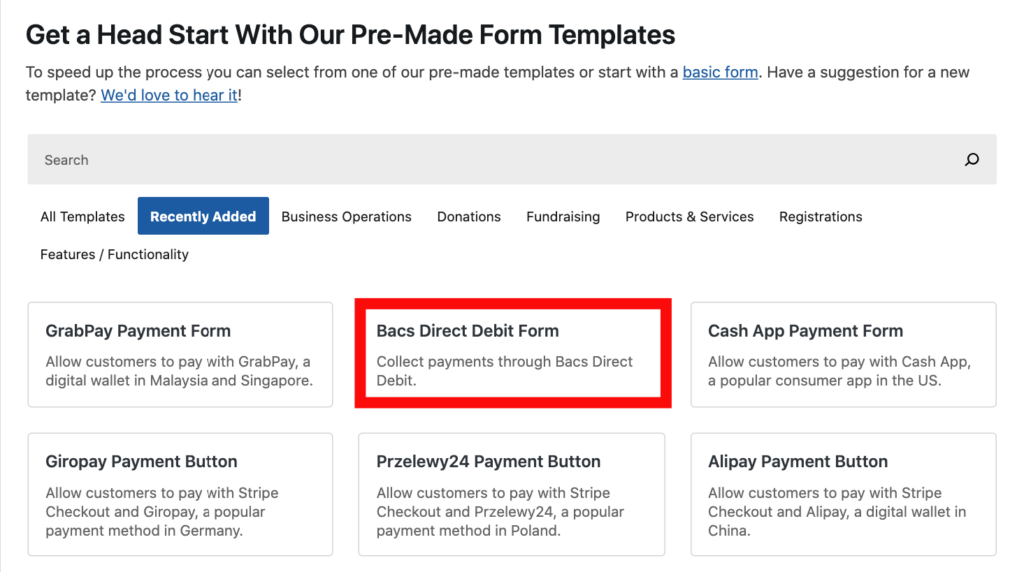
You should have landed on the payment form template library page. While WP Simple Pay offers tons of pre-built templates for you to choose from, go ahead and choose the Bacs Direct Debit Form.
Next, in the General tab, enter the title and description of your form in the fields provided.
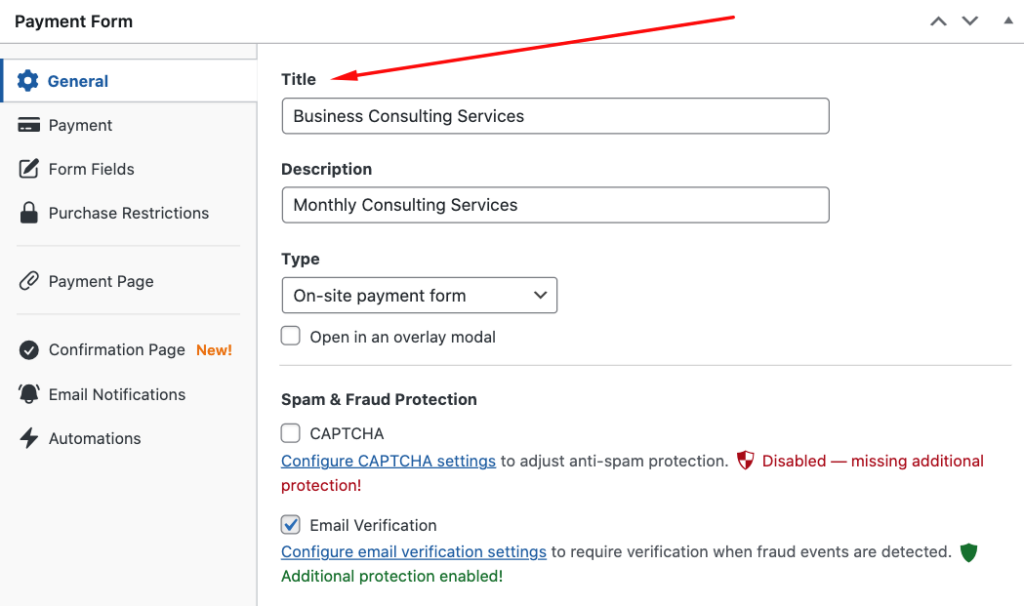
Be sure to keep the On-site payment form selected for the form Type. This allows your customers to complete their checkout without having to leave your site.
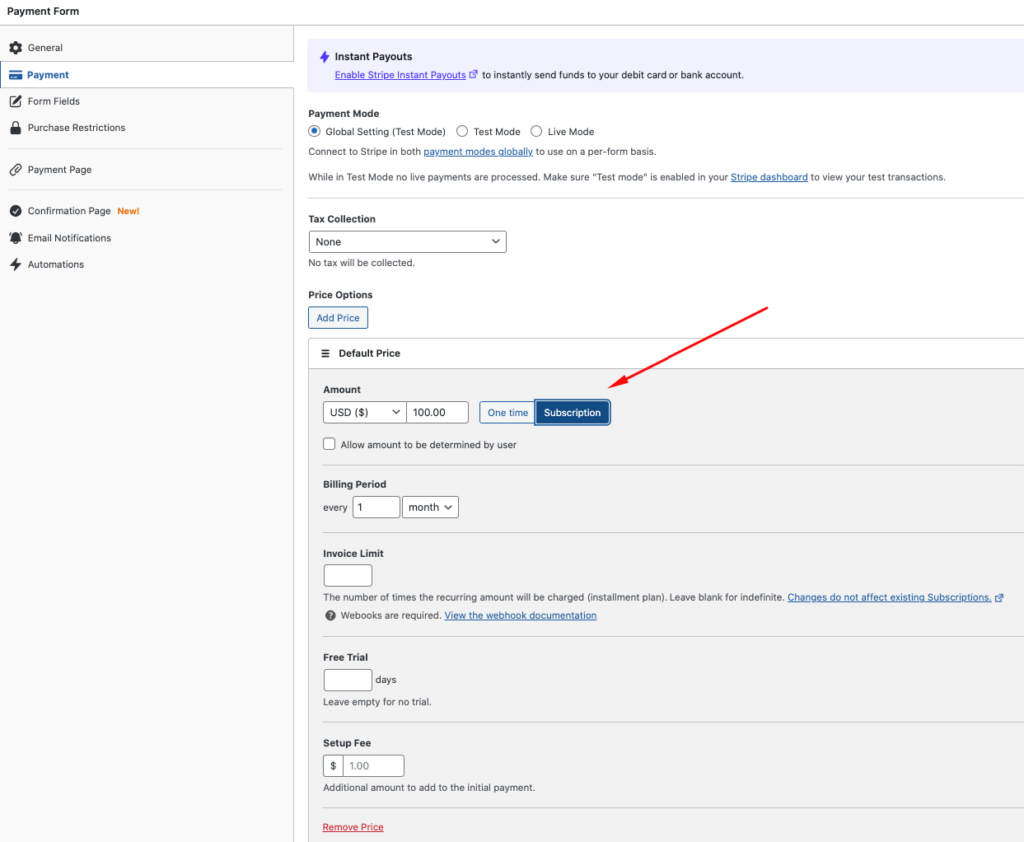
Once you’re happy with the title and description, click on the Payment tab.
We’ve already established that Bacs Direct is the preferred local payment method for recurring payments among UK customers. So, let’s go ahead and choose Subscription and enter your price.
You can also change the billing period to weekly, monthly, or yearly. For the sake of this tutorial, you can leave it set to every month. This ensures that your customers are charged the same amount every month until canceled. It will also help speed up payment processing because the mandate will be set in place for all future payments.
Next, you’ll notice that Bacs has already been pre-selected as your payment method.
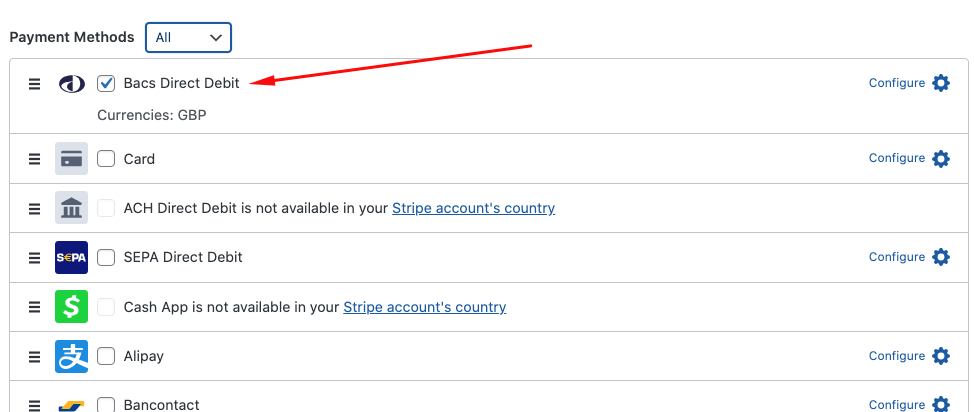
After you’ve entered your price amount and set up your form to accept recurring payments, click on the Form Fields tab.
Here is where you can edit, add, and remove your form’s custom fields.
Simply choose the specific form fields you’d like to add from the dropdown menu and click on the Add Field button.
Once you’ve finished configuring the custom fields, feel free to continue to the additional tabs to customize your payment confirmation emails, notification messages, and automation.
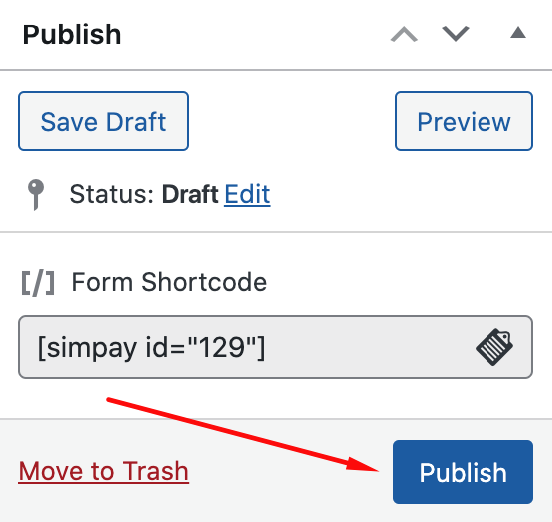
Step 4: Publish Your Payment Form on Your Site
Now that you’ve created your Bacs Direct Debit payment form, be sure to click on the Publish button.
Then, simply go to the page or post you want your payment form on and click on the + icon in the top left-hand side of your screen.
Next, select the WP Simple Pay block and choose the form you just created from the dropdown menu.
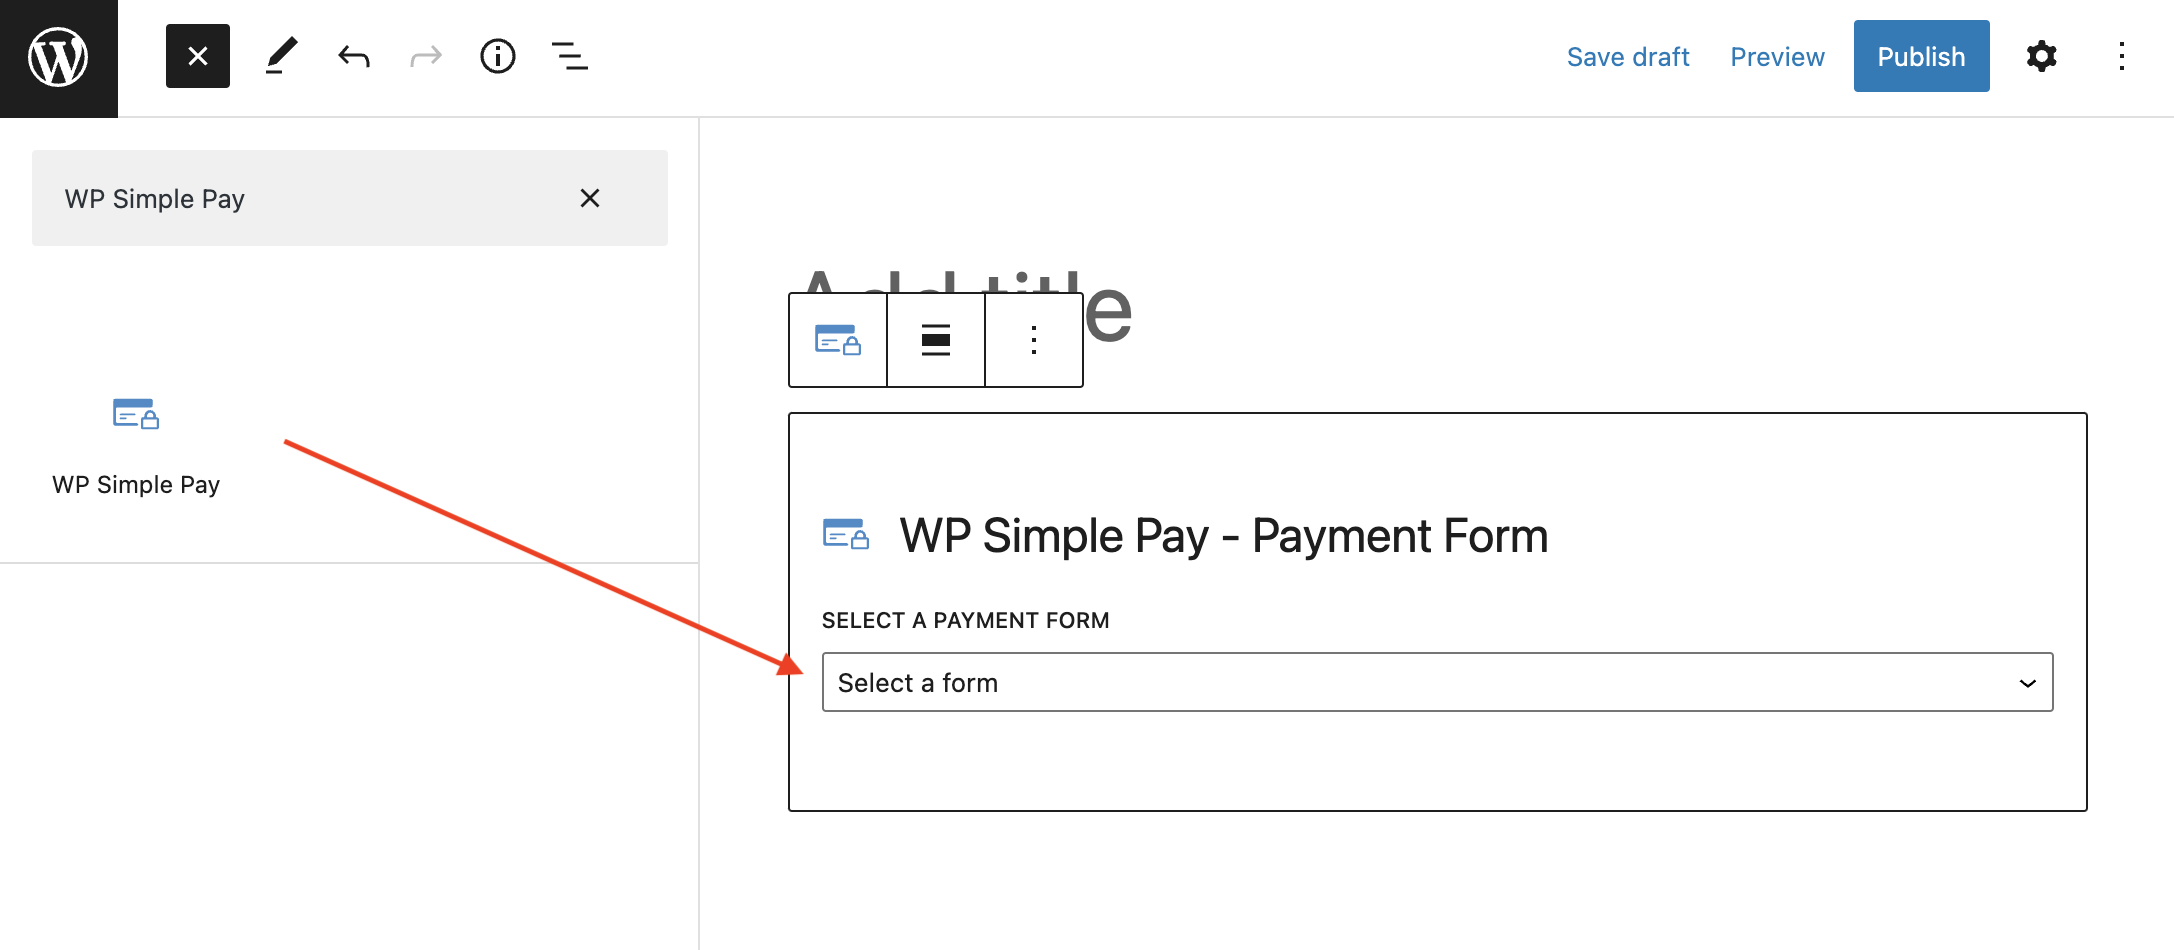
Finally, be sure to click on the Update or Publish button.
That’s it! We hope this article has helped guide you through the process of creating a Bacs Direct Debit payment form. You’re all set to begin accepting Bacs directly on your WordPress site.
If you liked this article, you might also want to check out our guide on how to accept ACH Direct Debit Payments in WordPress.
What are you waiting for? Get started with WP Simple Pay today!
To read more articles like this, follow us on Facebook and Twitter.

Leave a Reply