How to Create an Overlay Payment Form in WordPress (Easy Way)
By
|
Last updated on
Do you want to create an overlay payment form on your site? With WP Simple Pay, you can easily create a button that pops up an overlay payment form when clicked.
In this article, we’ll show you how to create an overlay payment form in WordPress (step by step).
Creating an Overlay Payment Form
WP Simple Pay, the best WordPress Stripe payment plugin, makes it easy to accept payments in multiple ways, including an overlay payment form.
All you need to do is to create a payment button and embed it on your site. When your customers click on that button, an overlay popup form will be triggered, where your customers can complete the payment.
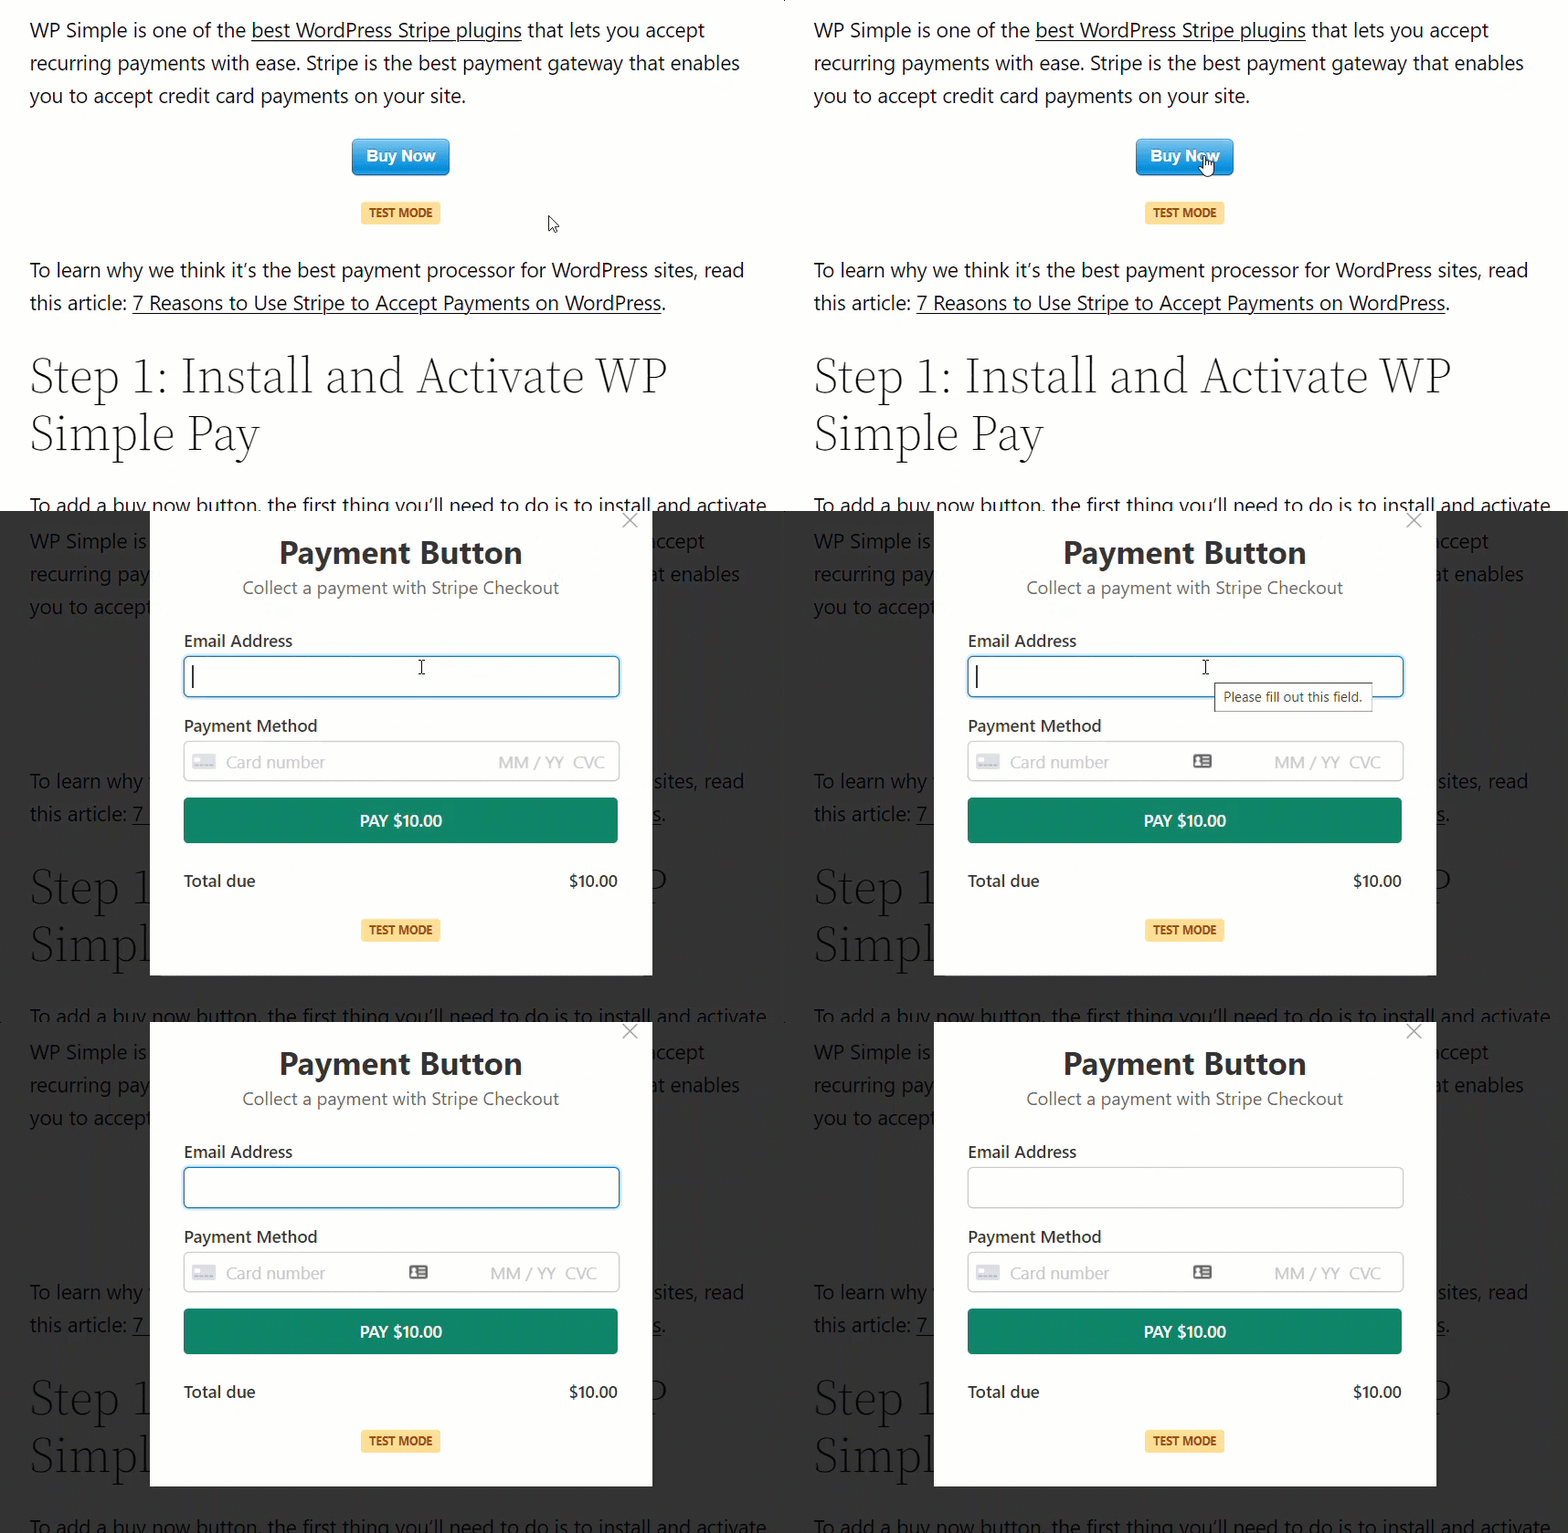
The best thing is that an overlay popup form enables your customers to complete the payment on the same page where the payment button is embedded.
That means unlike a conventional payment button, redirecting to another checkout page is NOT needed, which increases conversion rate and helping you earn more.
Step 1: Install and Activate WP Simple Pay
To create an overlay payment form, the first thing you’ll need to do is to install and activate WP Simple Pay.
WP Simple Pay is one of the best WordPress Stripe plugins that lets you easily create a payment button.
After purchasing the WP Simple Pay plugin, download it from your purchase email receipt or from your WP Simple Pay account.
To install it, go to your WordPress backend, navigate to Add New under Plugins, and then Upload Plugin. Click Choose File and find the WP Simple Pay .zip file on your computer. Click Install Now. When the upload is complete, press the Activate Plugin button.
If you want to install WP Simple Pay via FTP, follow this guide.
Remove the additional 3% fee!
Most Stripe plugins charge an additional 3% fee for EVERY transaction
…not WP Simple Pay Pro!

If you didn’t see the setup wizard, simply head over to WP Simple Pay » Settings » Advanced tab and click the Launch Setup Wizard button.
Step 2: Connect WordPress to Stripe
To connect your WordPress site to Stripe, click Connect with Stripe.
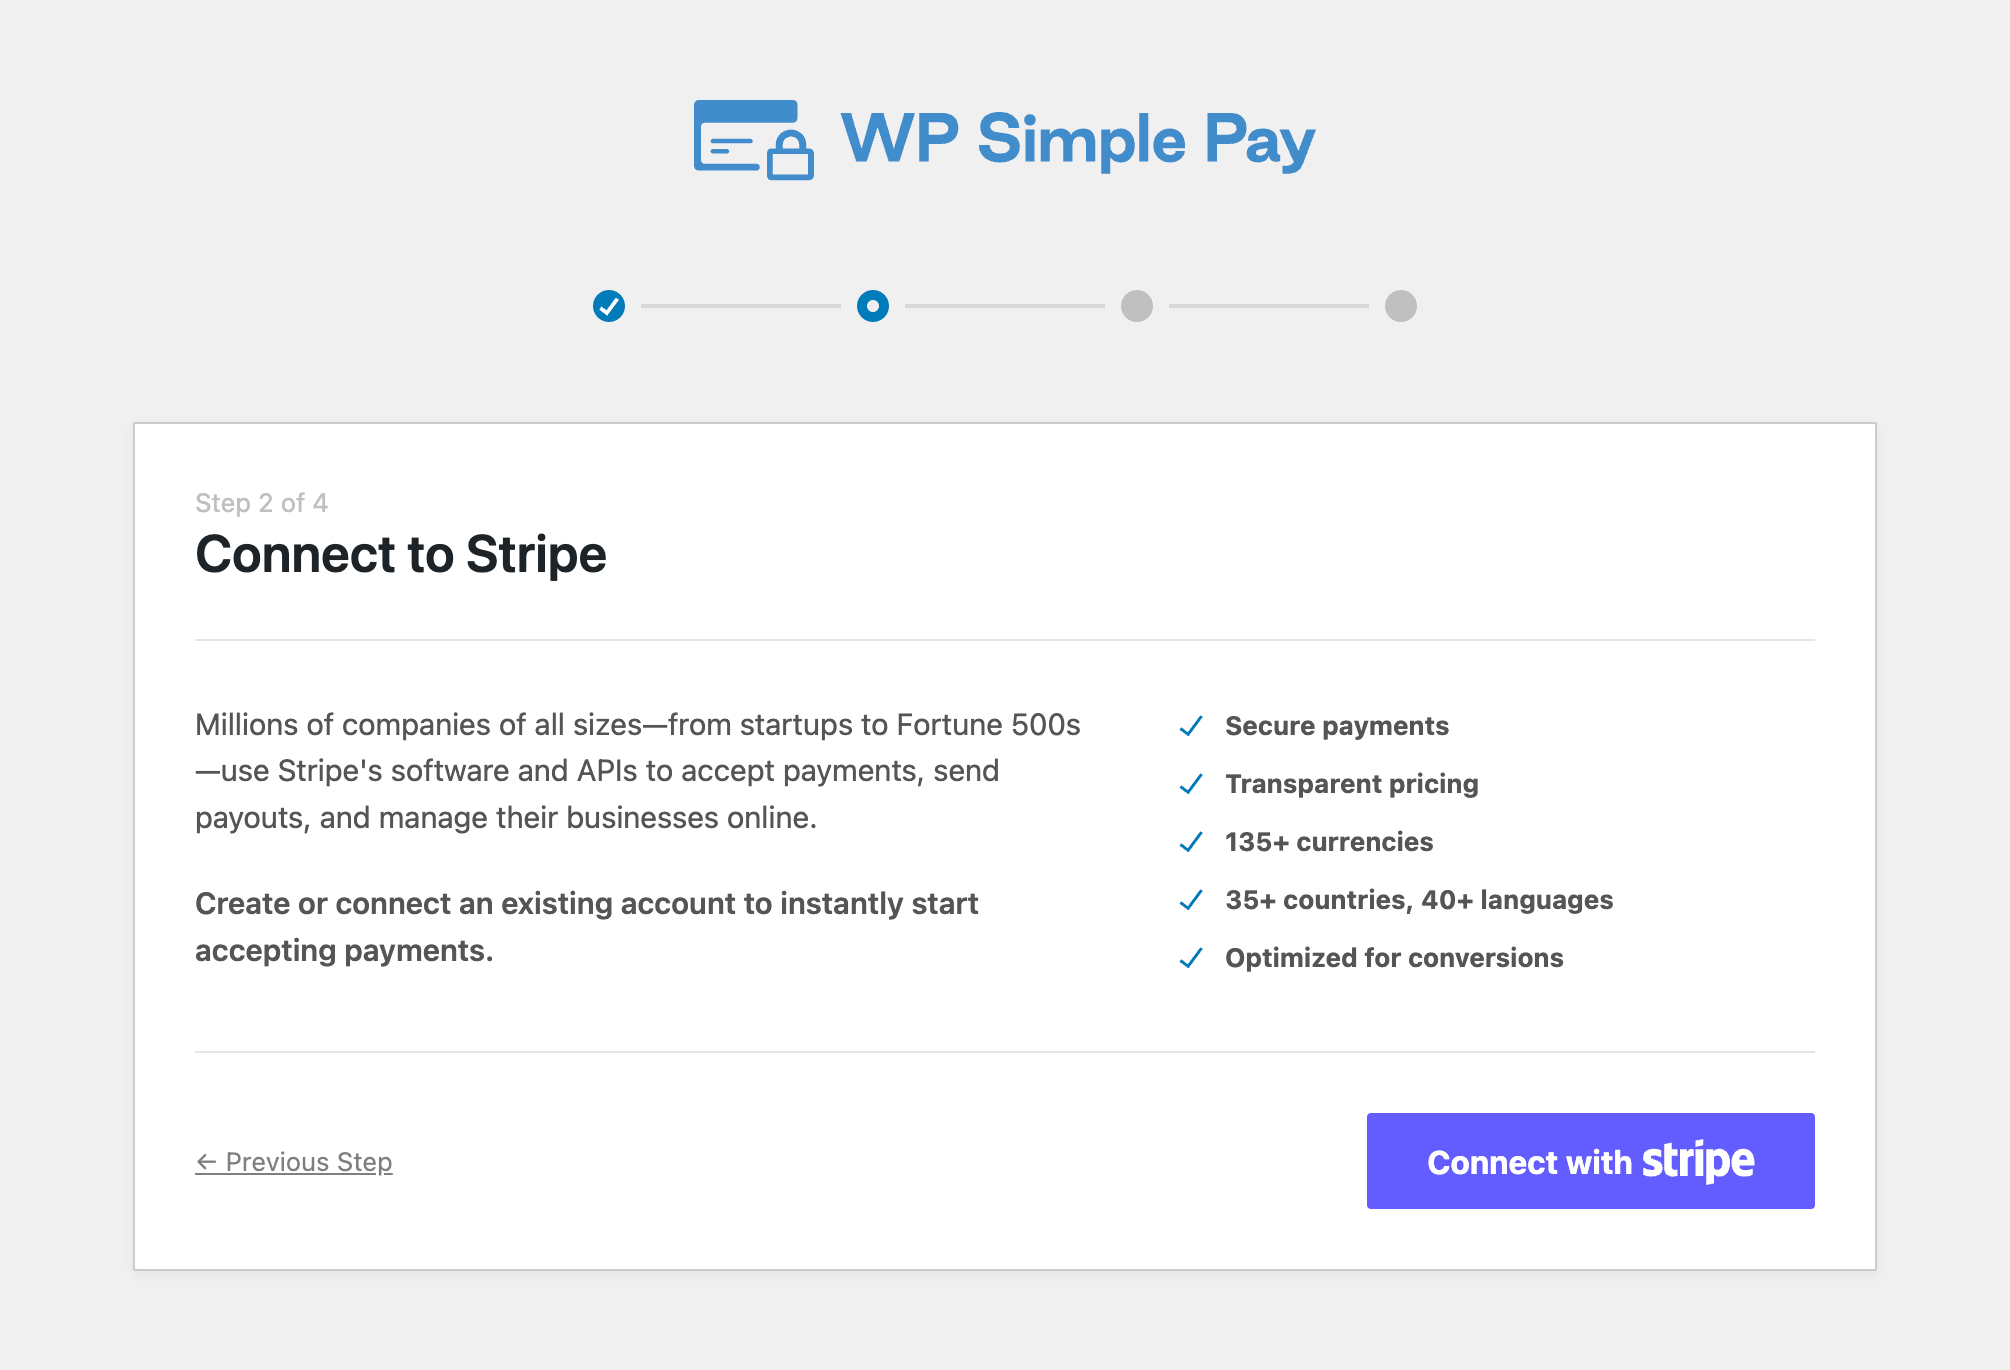
Next up, enter the email address you use for your Stripe account and connect it with your site. If you don’t have a Stripe account, you can easily create one by entering your email address and completing registration.

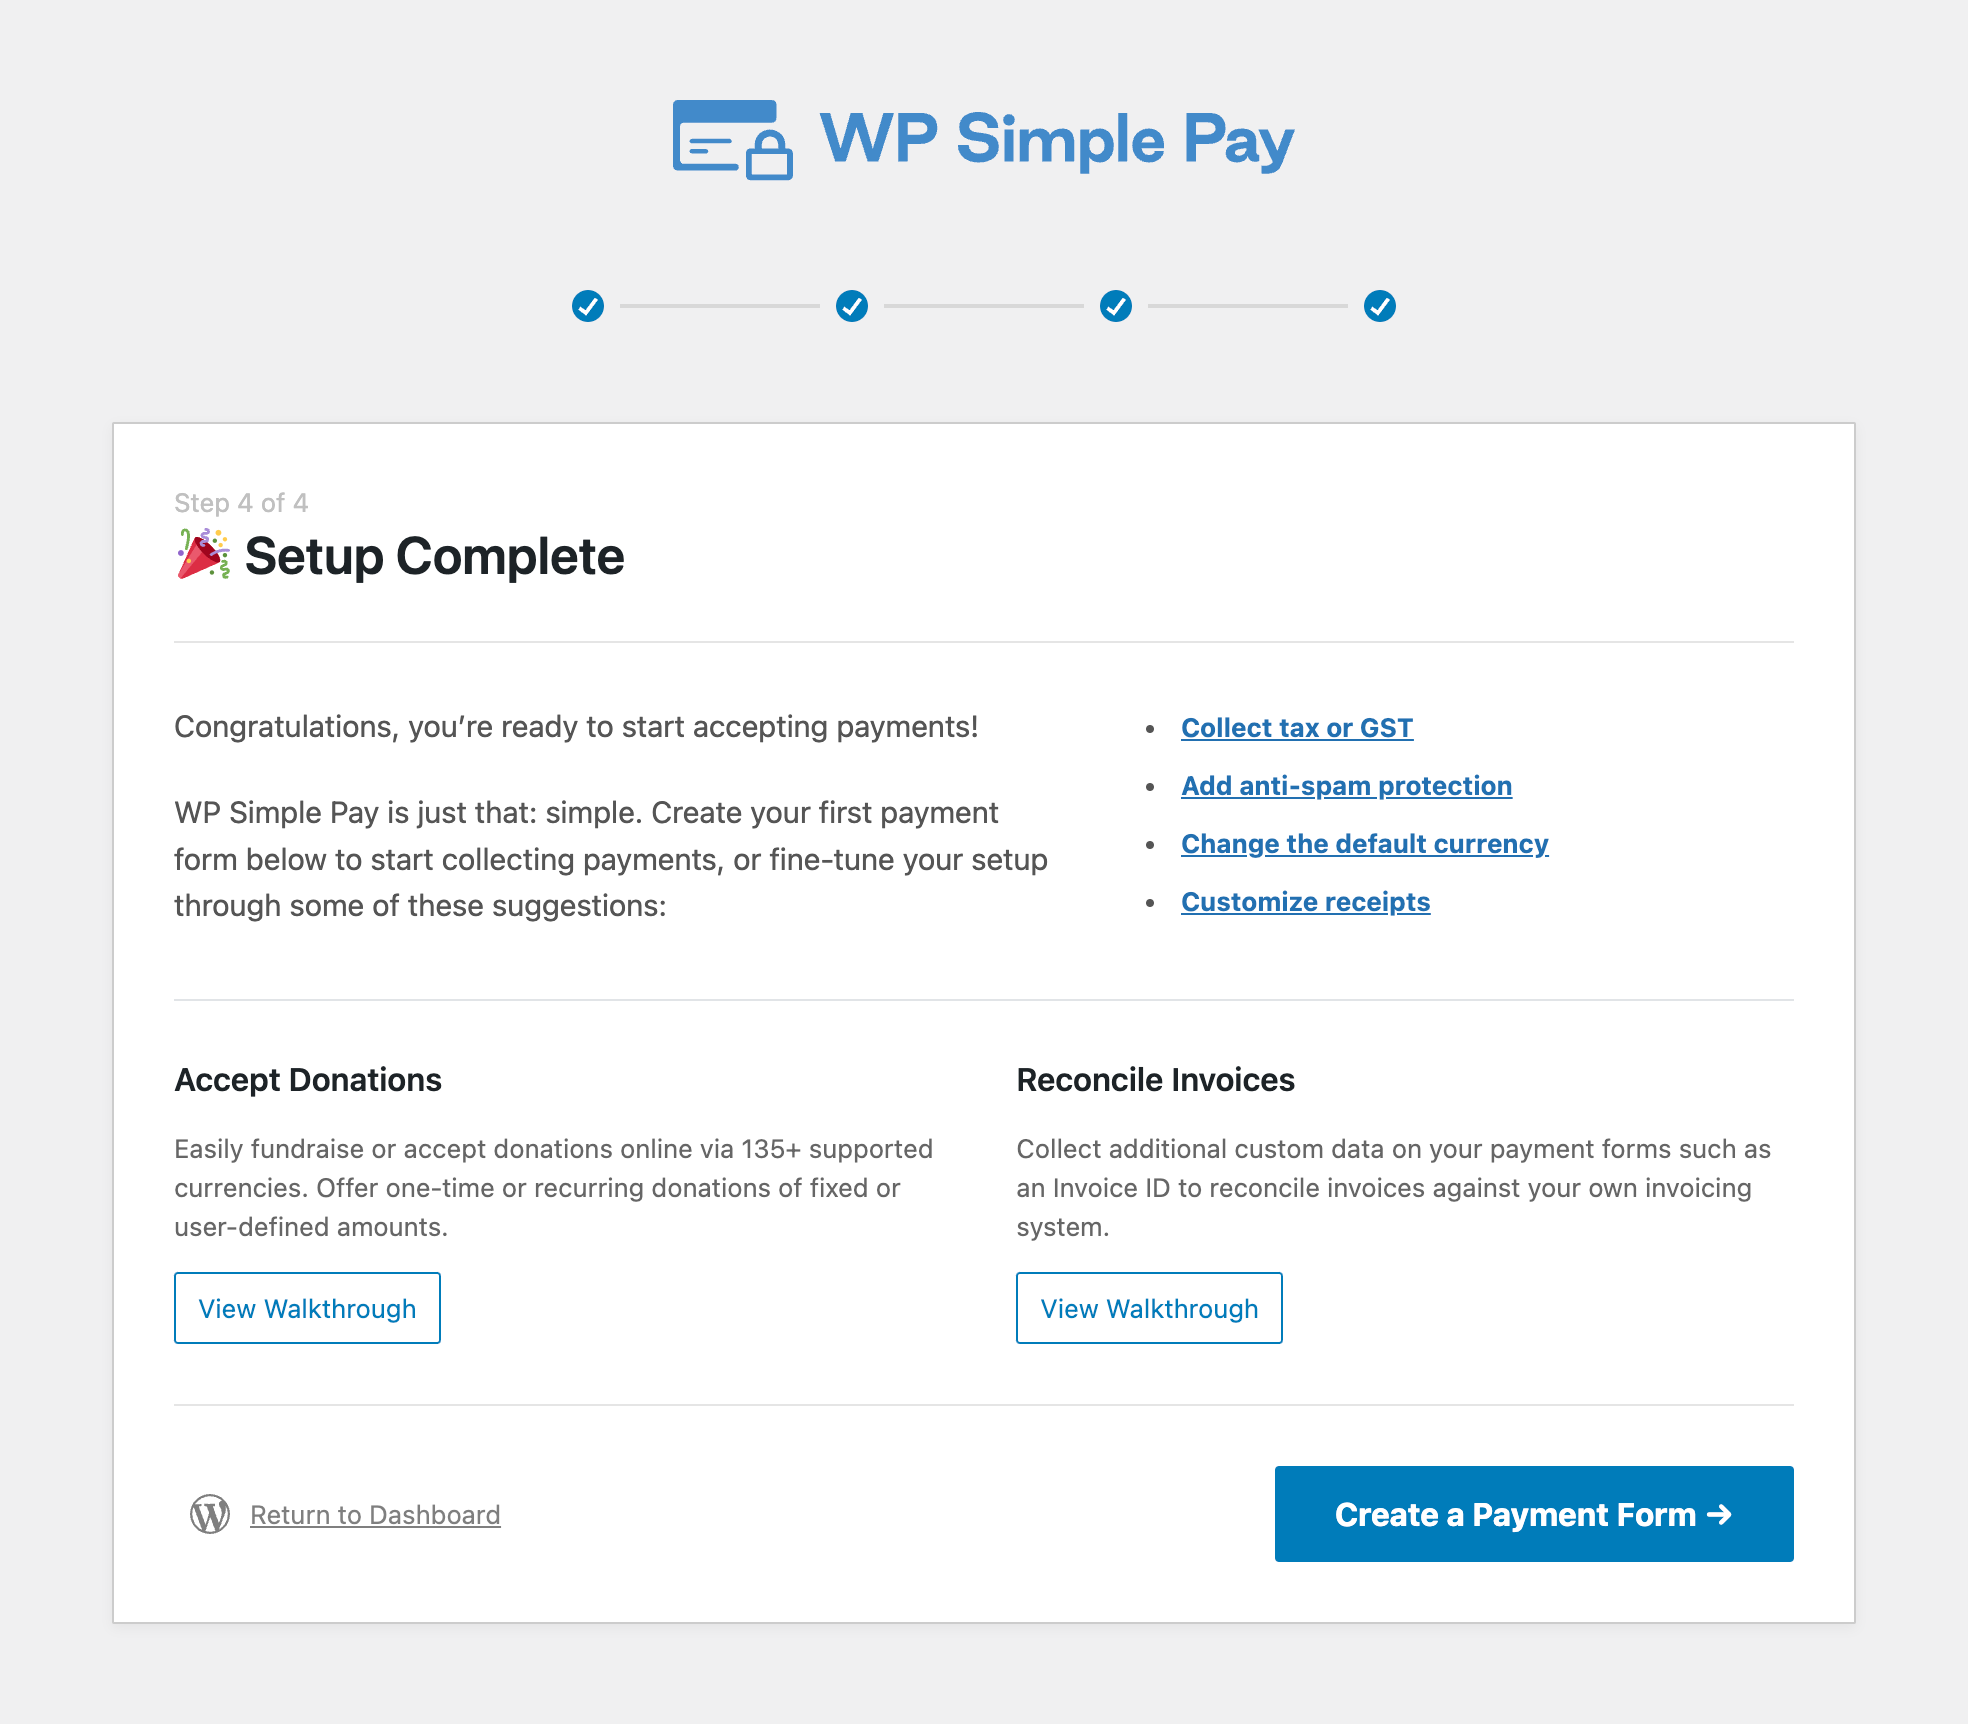
Upon completing this process, you’ll be shown a success page that says Setup Complete. Next, to create a payment form, click on the Create a Payment Form button.
Step 3: Create an Overlay Payment Form
Now that you’ve connected your Stripe account with your site, it’s time to create your overlay payment form.
You need to start by choosing one of the pre-built form templates that WP Simple Pay offers. Each pre-built form template comes preselected with all the essential features you’ll need for your unique needs.
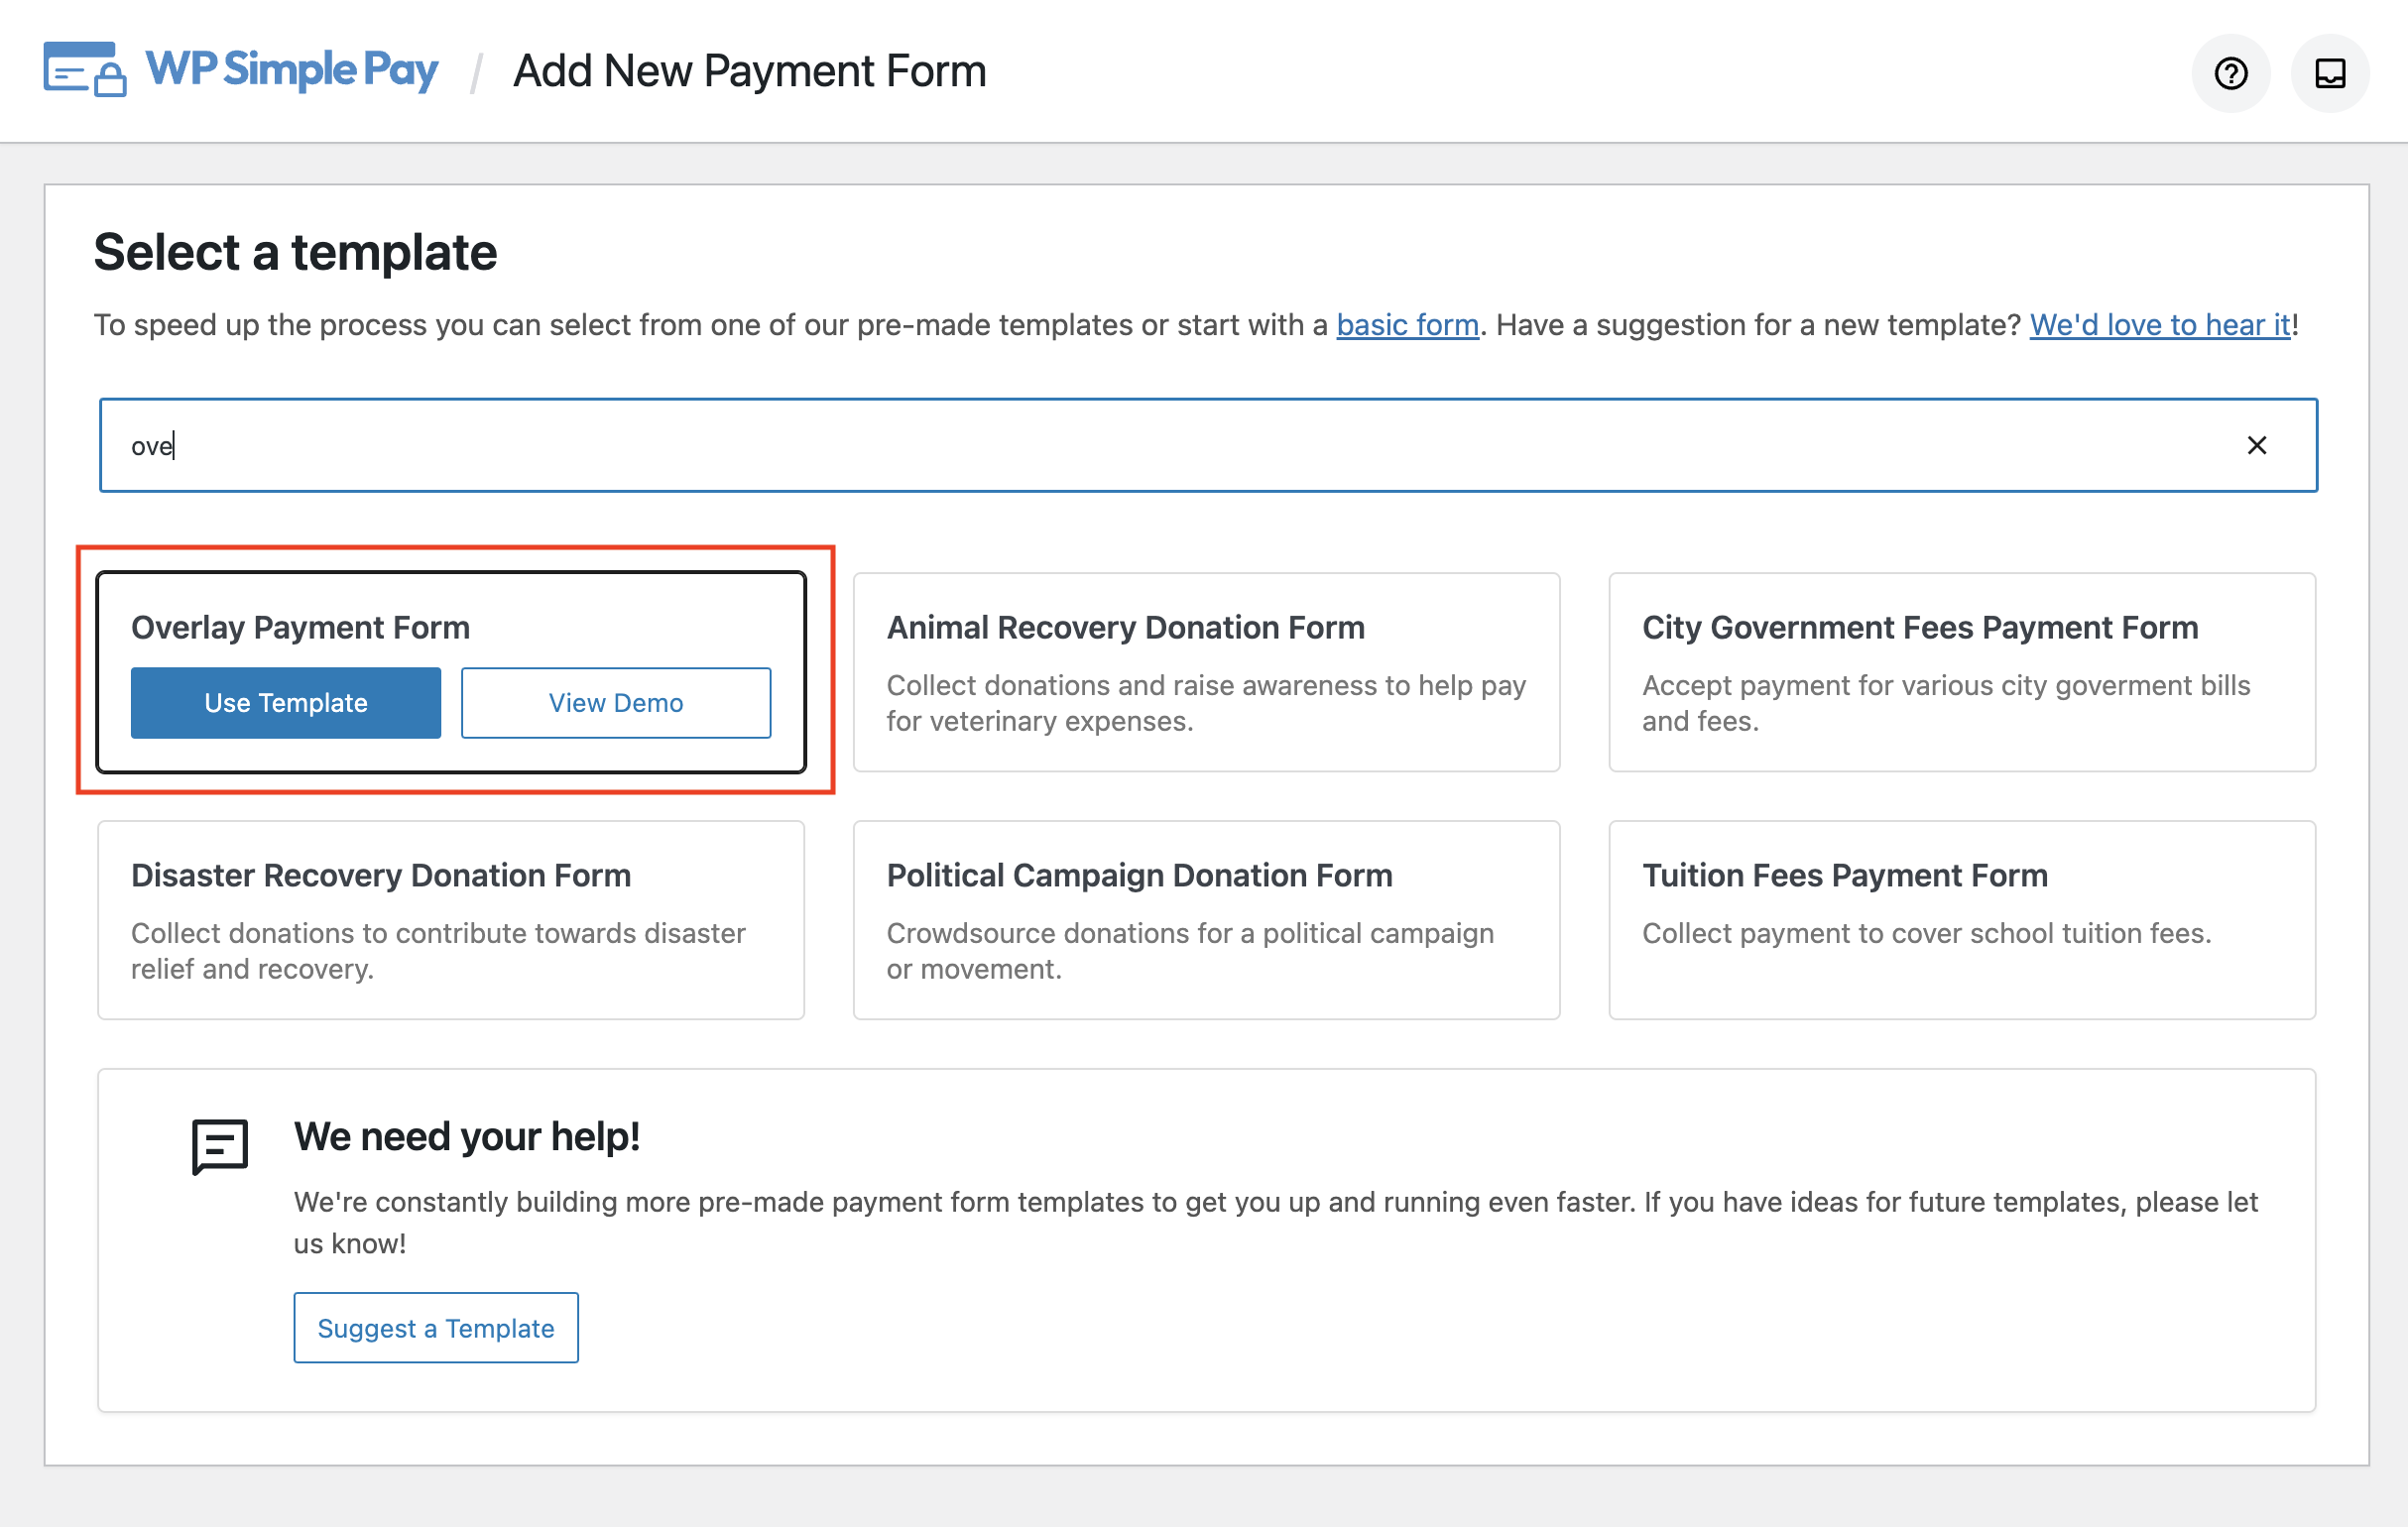
While you can create an overlay payment form with any template, let’s choose the Overlay Payment Form template since it preselects the features you’ll need right out of the box.
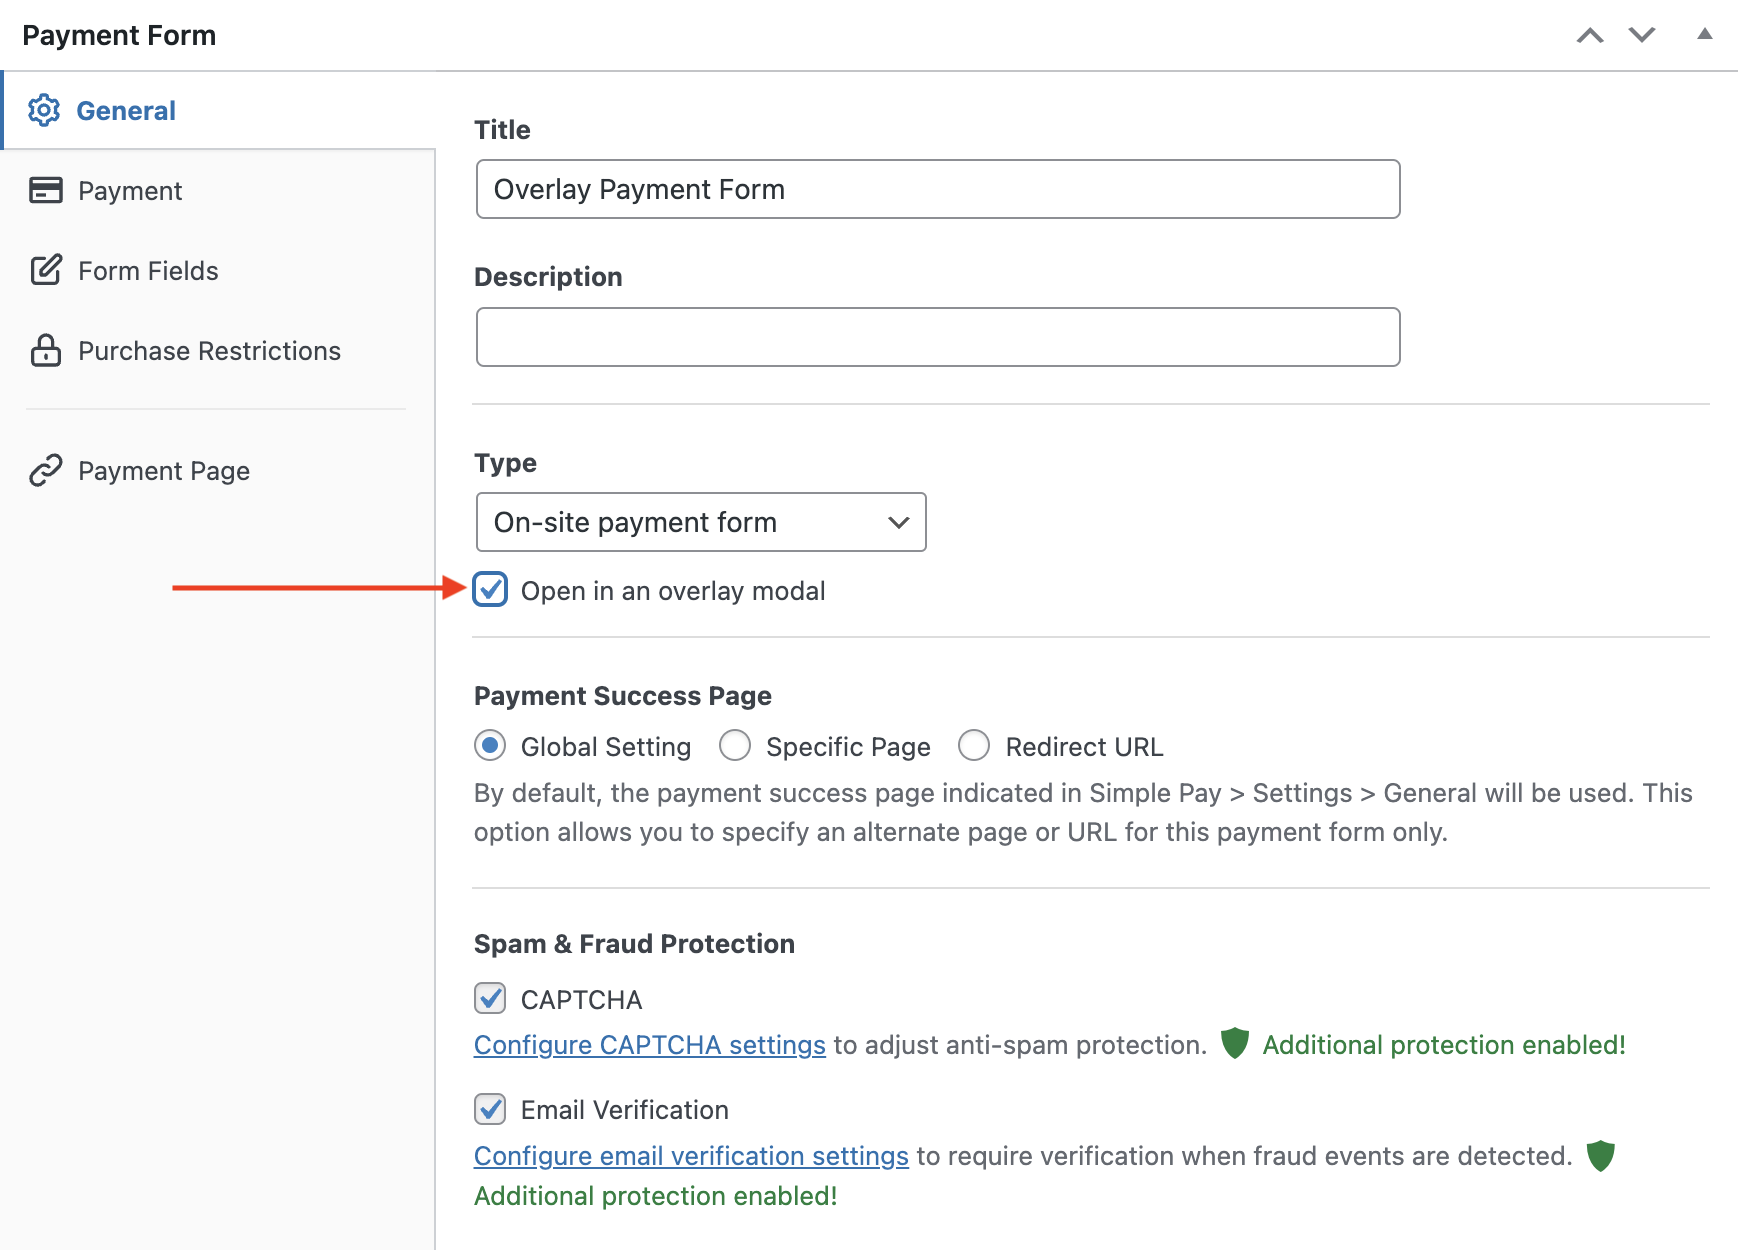
In the General settings, you can customize the title and description of your form.
The Overlay Payment Form template preselects the Type as On-site payment form, and also preselects the Open in an overlay modal checkbox.
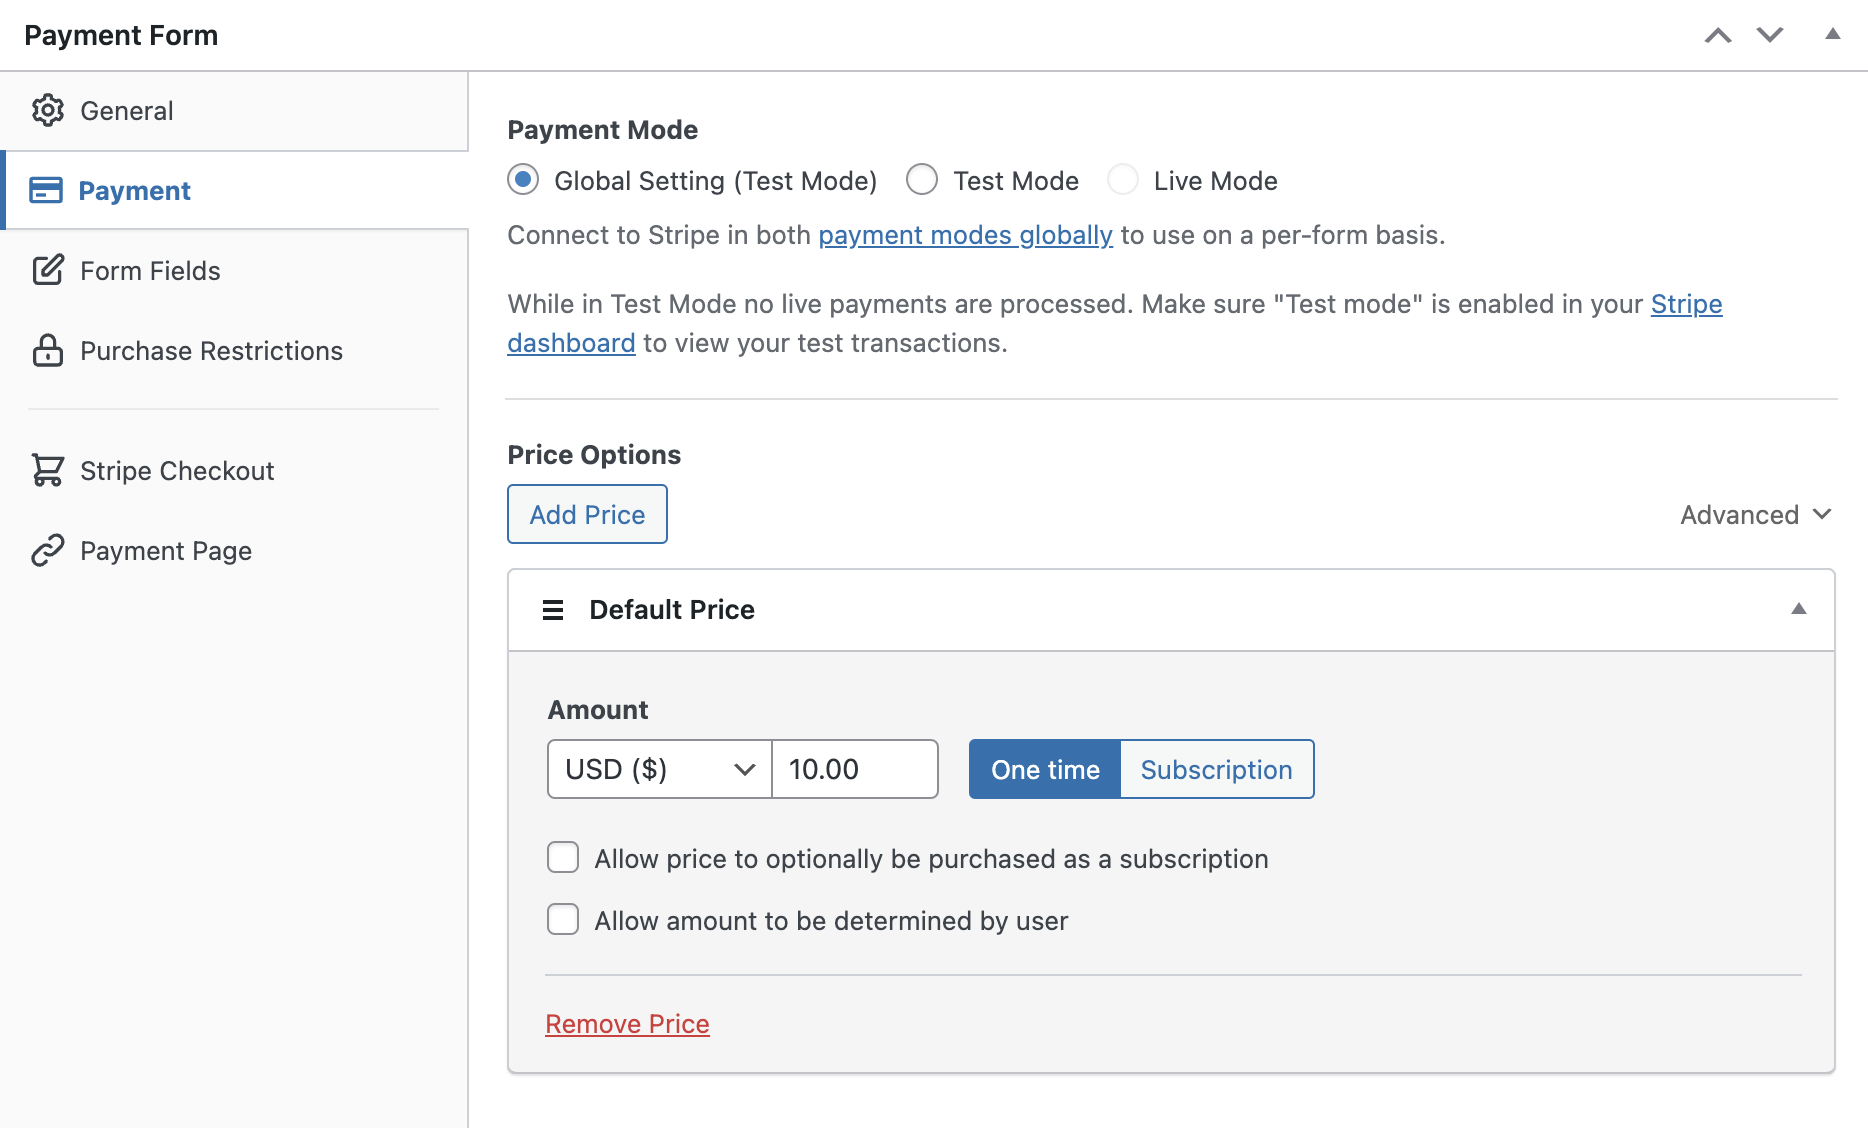
Next, click the Payment tab on the left, where you can add, remove, or customize the price options. You can also enable multiple payment methods that are supported in your Stripe account’s country.
Now make sure you save the form as a draft by clicking Save Draft on the right-hand side.
In the Form Fields tab, you can find that several form fields are preselected for this template.
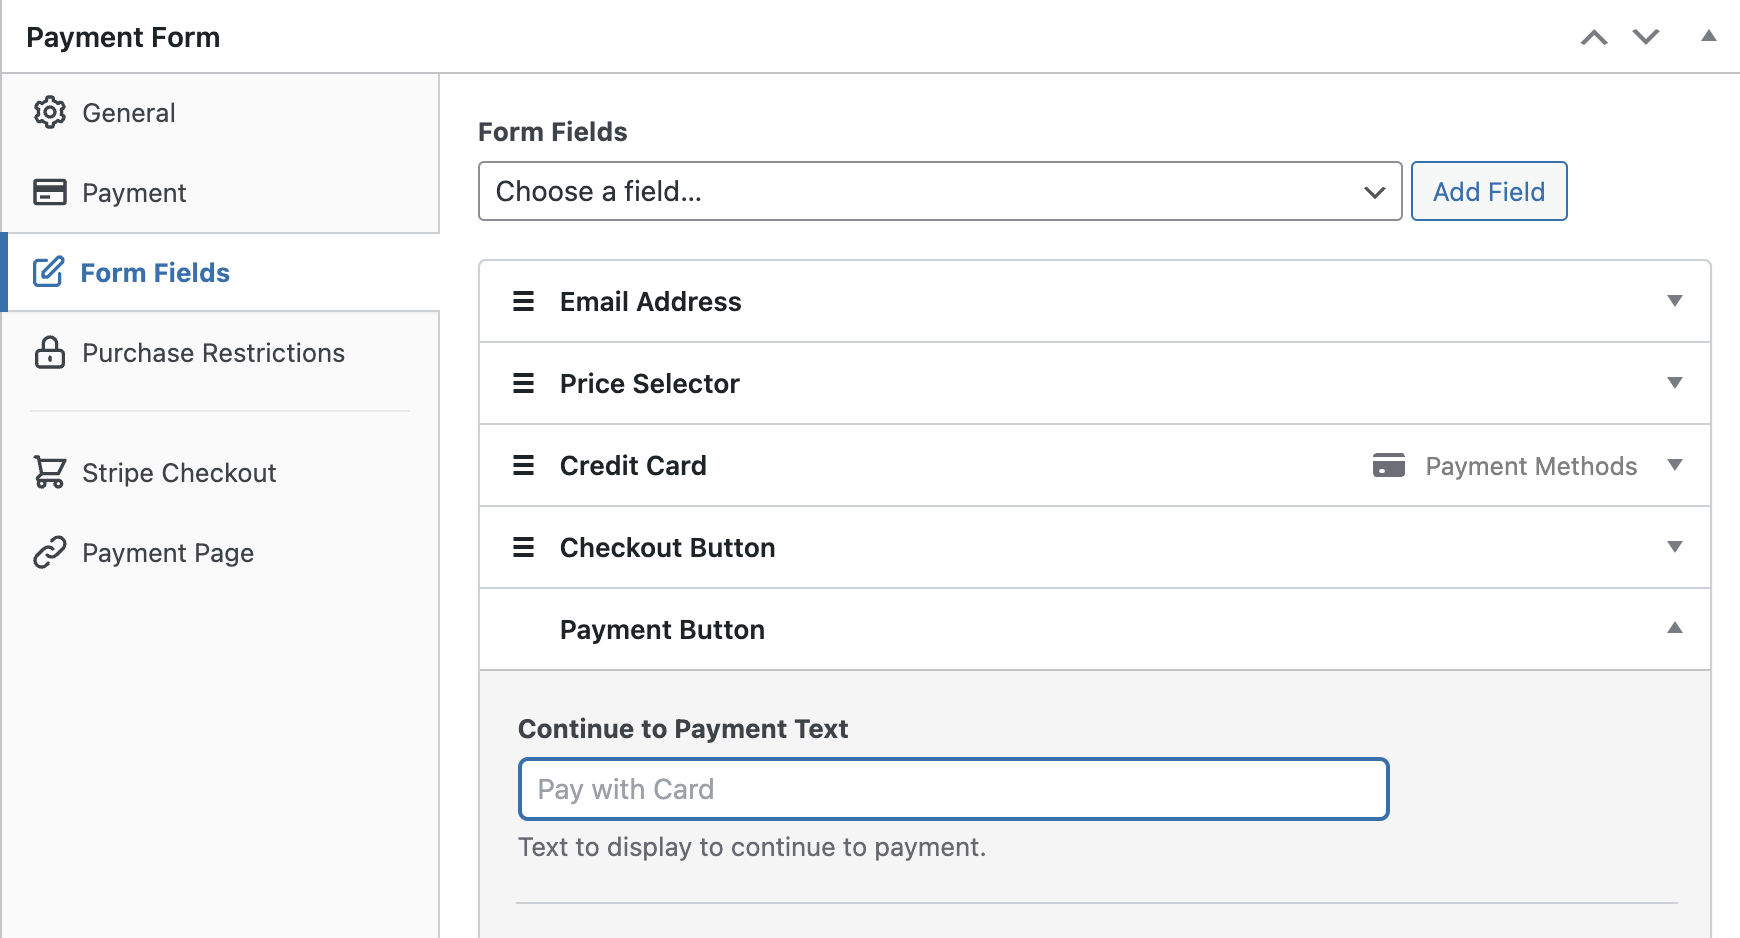
All these form fields, except for the Payment Button field, will be used and shown on the overlay payment form. The Payment Button field is the button that your customer needs to click in order to see the overlay payment form.
Just as with any other field, feel free to customize the Payment Button text and change the Button Style per your needs.
You can also collect additional data from your customers by adding new fields to your form.
Go ahead and preview your button now by clicking the Preview button on the right. Then click your payment button to see your overlay form. If it looks good, publish the form and then make a few test payments to see if it works as intended (read more about Test mode).
Step 4: Add the Overlay Payment Form to Your Site
Now that your payment form is ready to accept payments, it’s your turn to embed your form on your website.
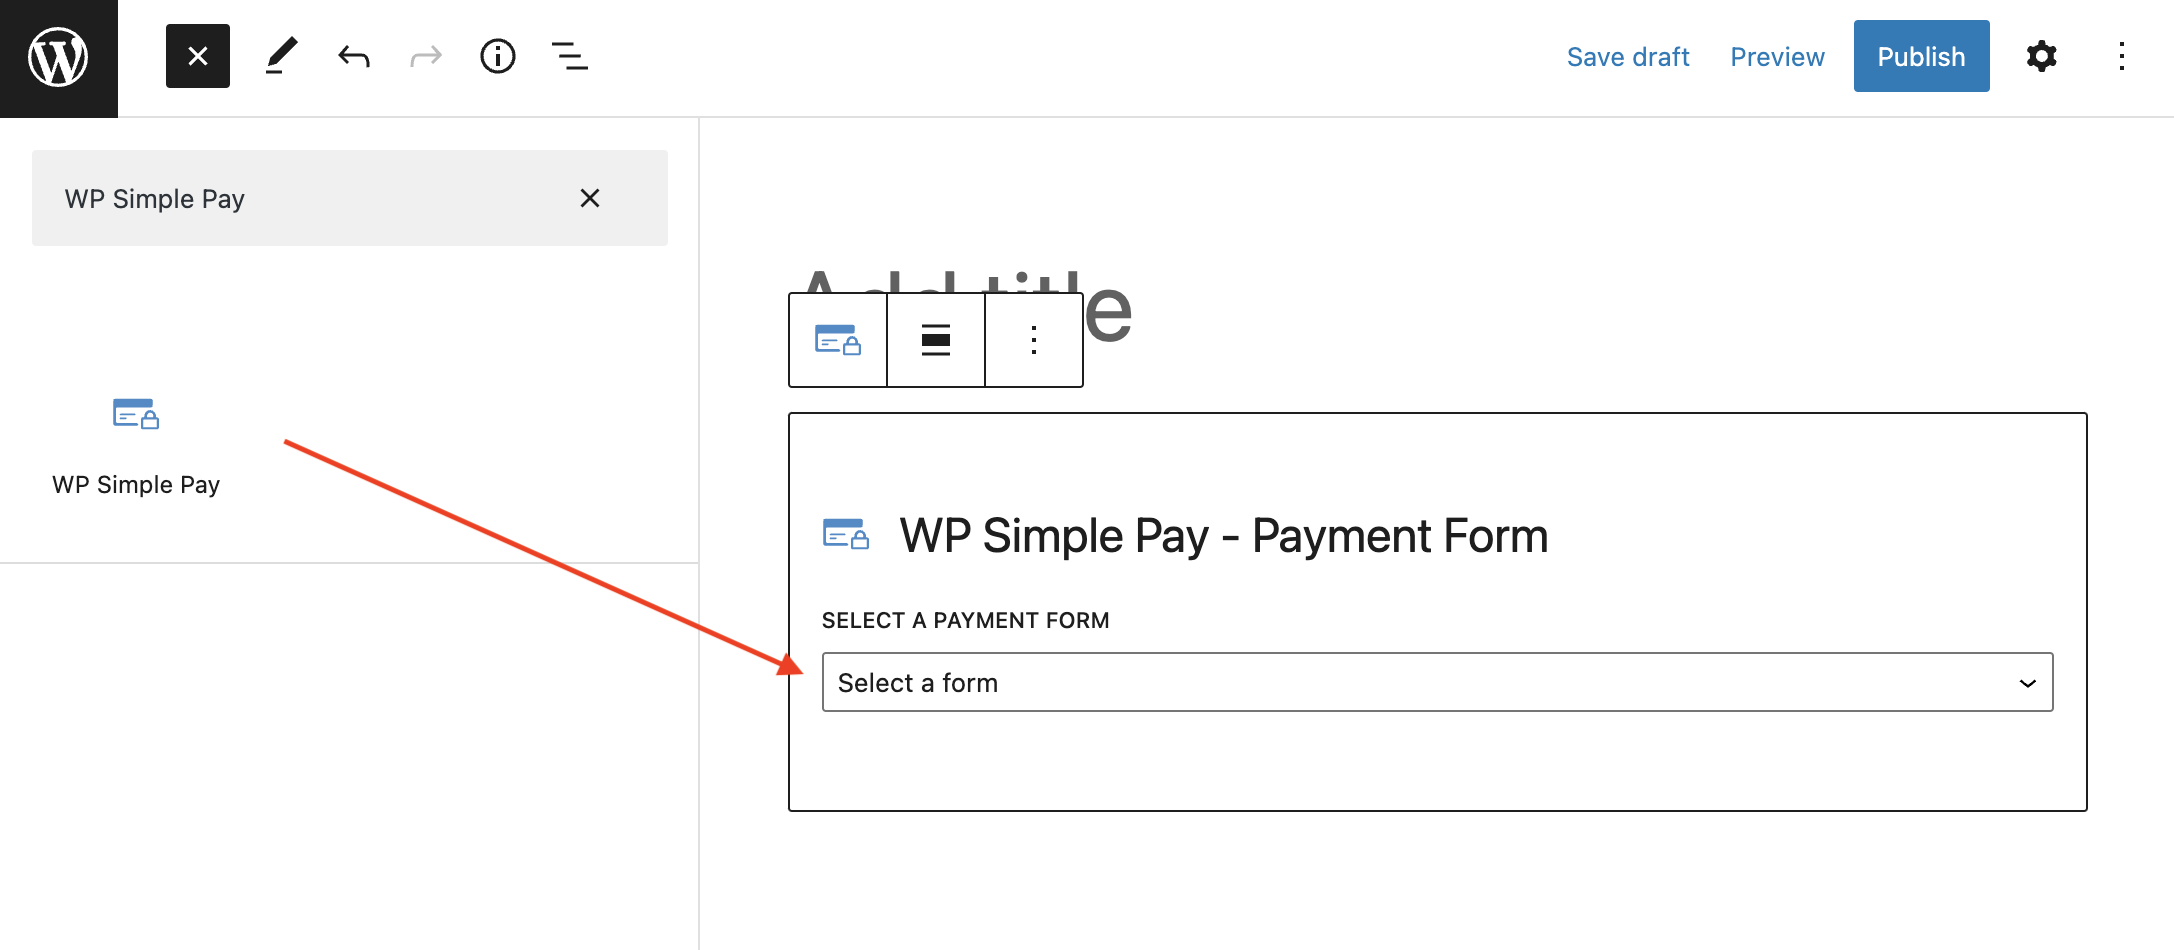
To embed the form, go to the post or page where you want to publish it. Then click on the + icon to add the WP Simple Pay block. Then choose a form you just created. And then, click Publish or Update.
That’s it! We hope this article helped you learn how to create an overlay payment form in WordPress. Get started with WP Simple Pay today to accept payments.
To read more articles like this, follow us on Facebook and Twitter.


Leave a Reply