How to Use the Block Editor Button Block with WP Simple Pay
In This Document
Have you ever wanted to launch an on-site overlay payment form, or off-site Stripe Checkout form using a button that matches your website?
In this tutorial, we’ll show you how to set up and use the Button block with WP Simple Pay.
Creating a Payment Form
First we need to ensure we have a compatible payment form created. Due to the nature of launching the payment form from a single button, only on-site payment forms set to open in an overlay modal, or off-site Stripe Checkout forms without additional fields can be used.
Off-site Stripe Checkout Form
Visit WP Simple Pay → Add New and select the Payment Button payment form template.
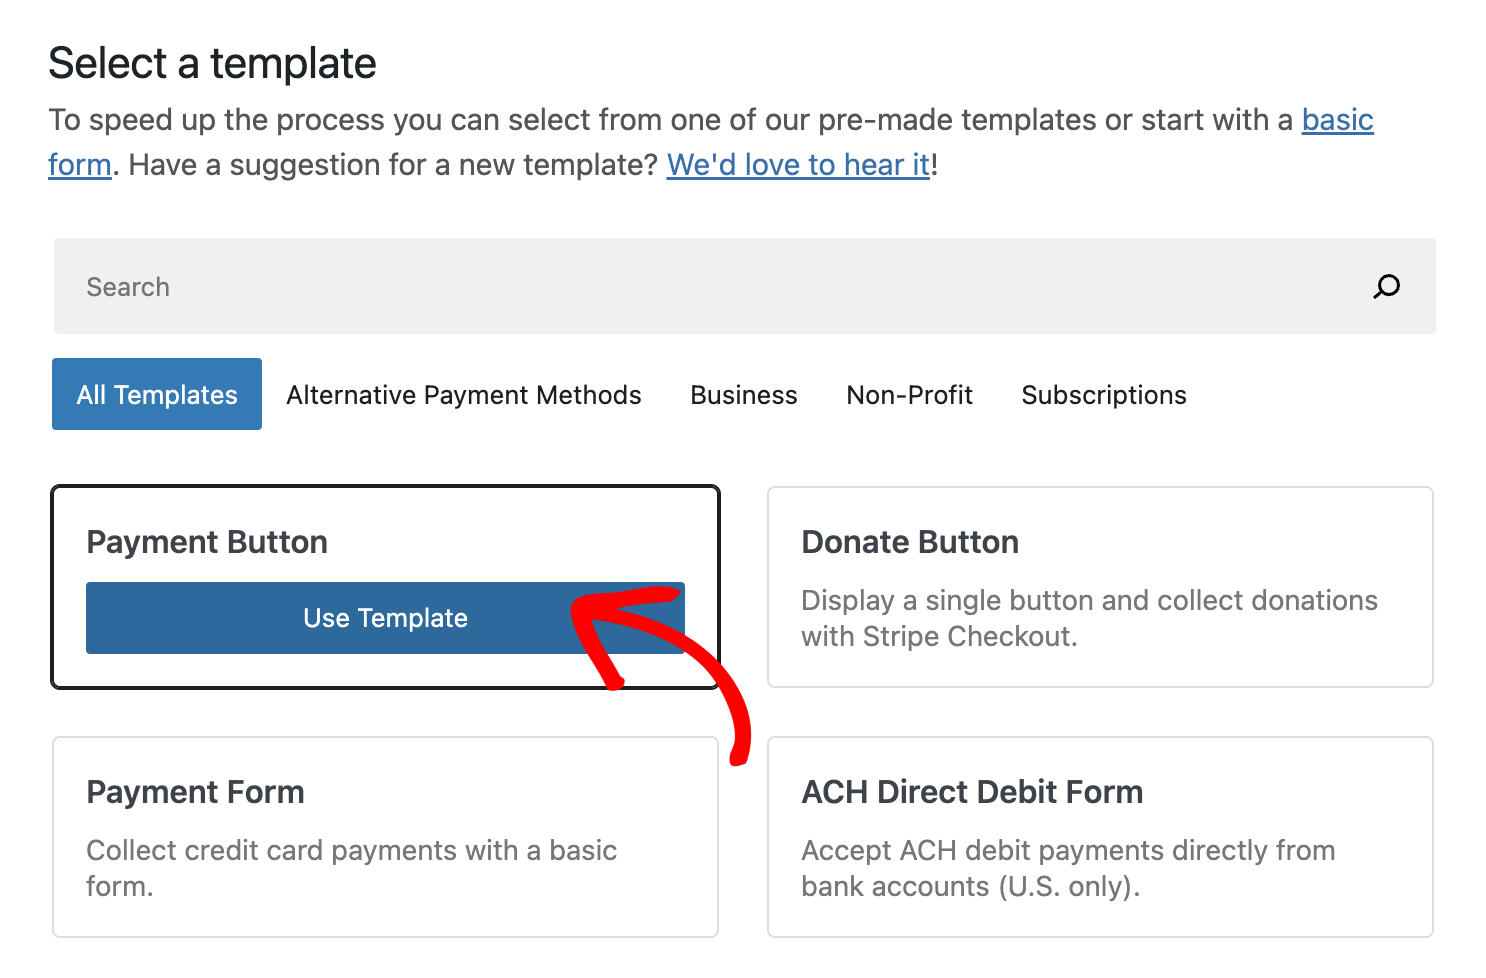
Next, click the “Stripe Checkout” tab in the payment form builder to customize the Stripe Checkout functionality presented to the user when they are redirected.
On-Site Overlay Modal Payment Form
Visit WP Simple Pay → Add New and select the Payment Form payment form template.
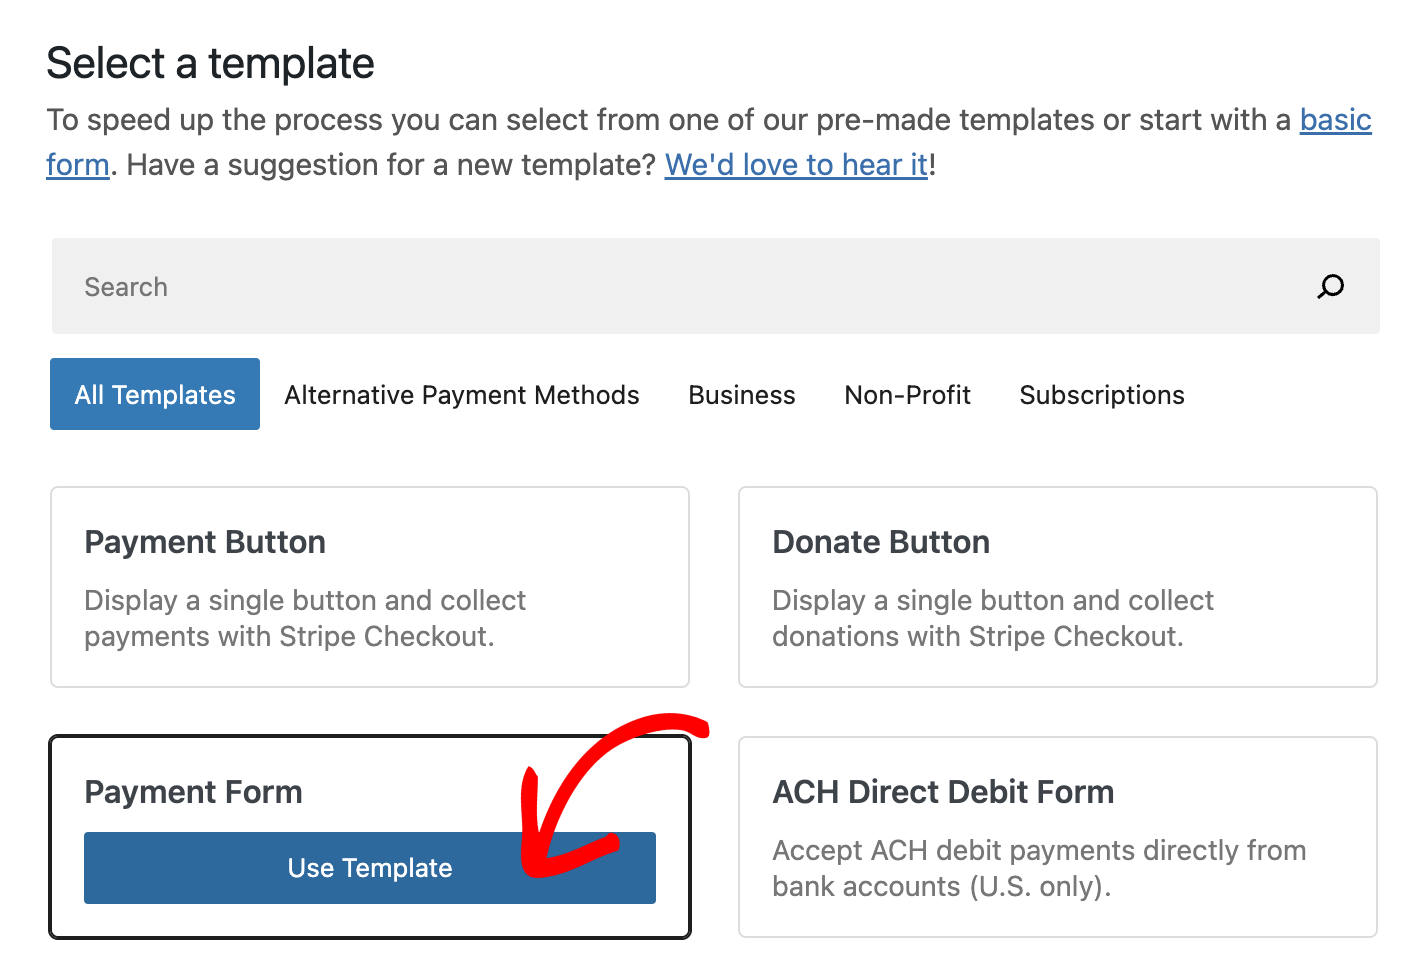
Next, check the “Open in an overlay modal”.
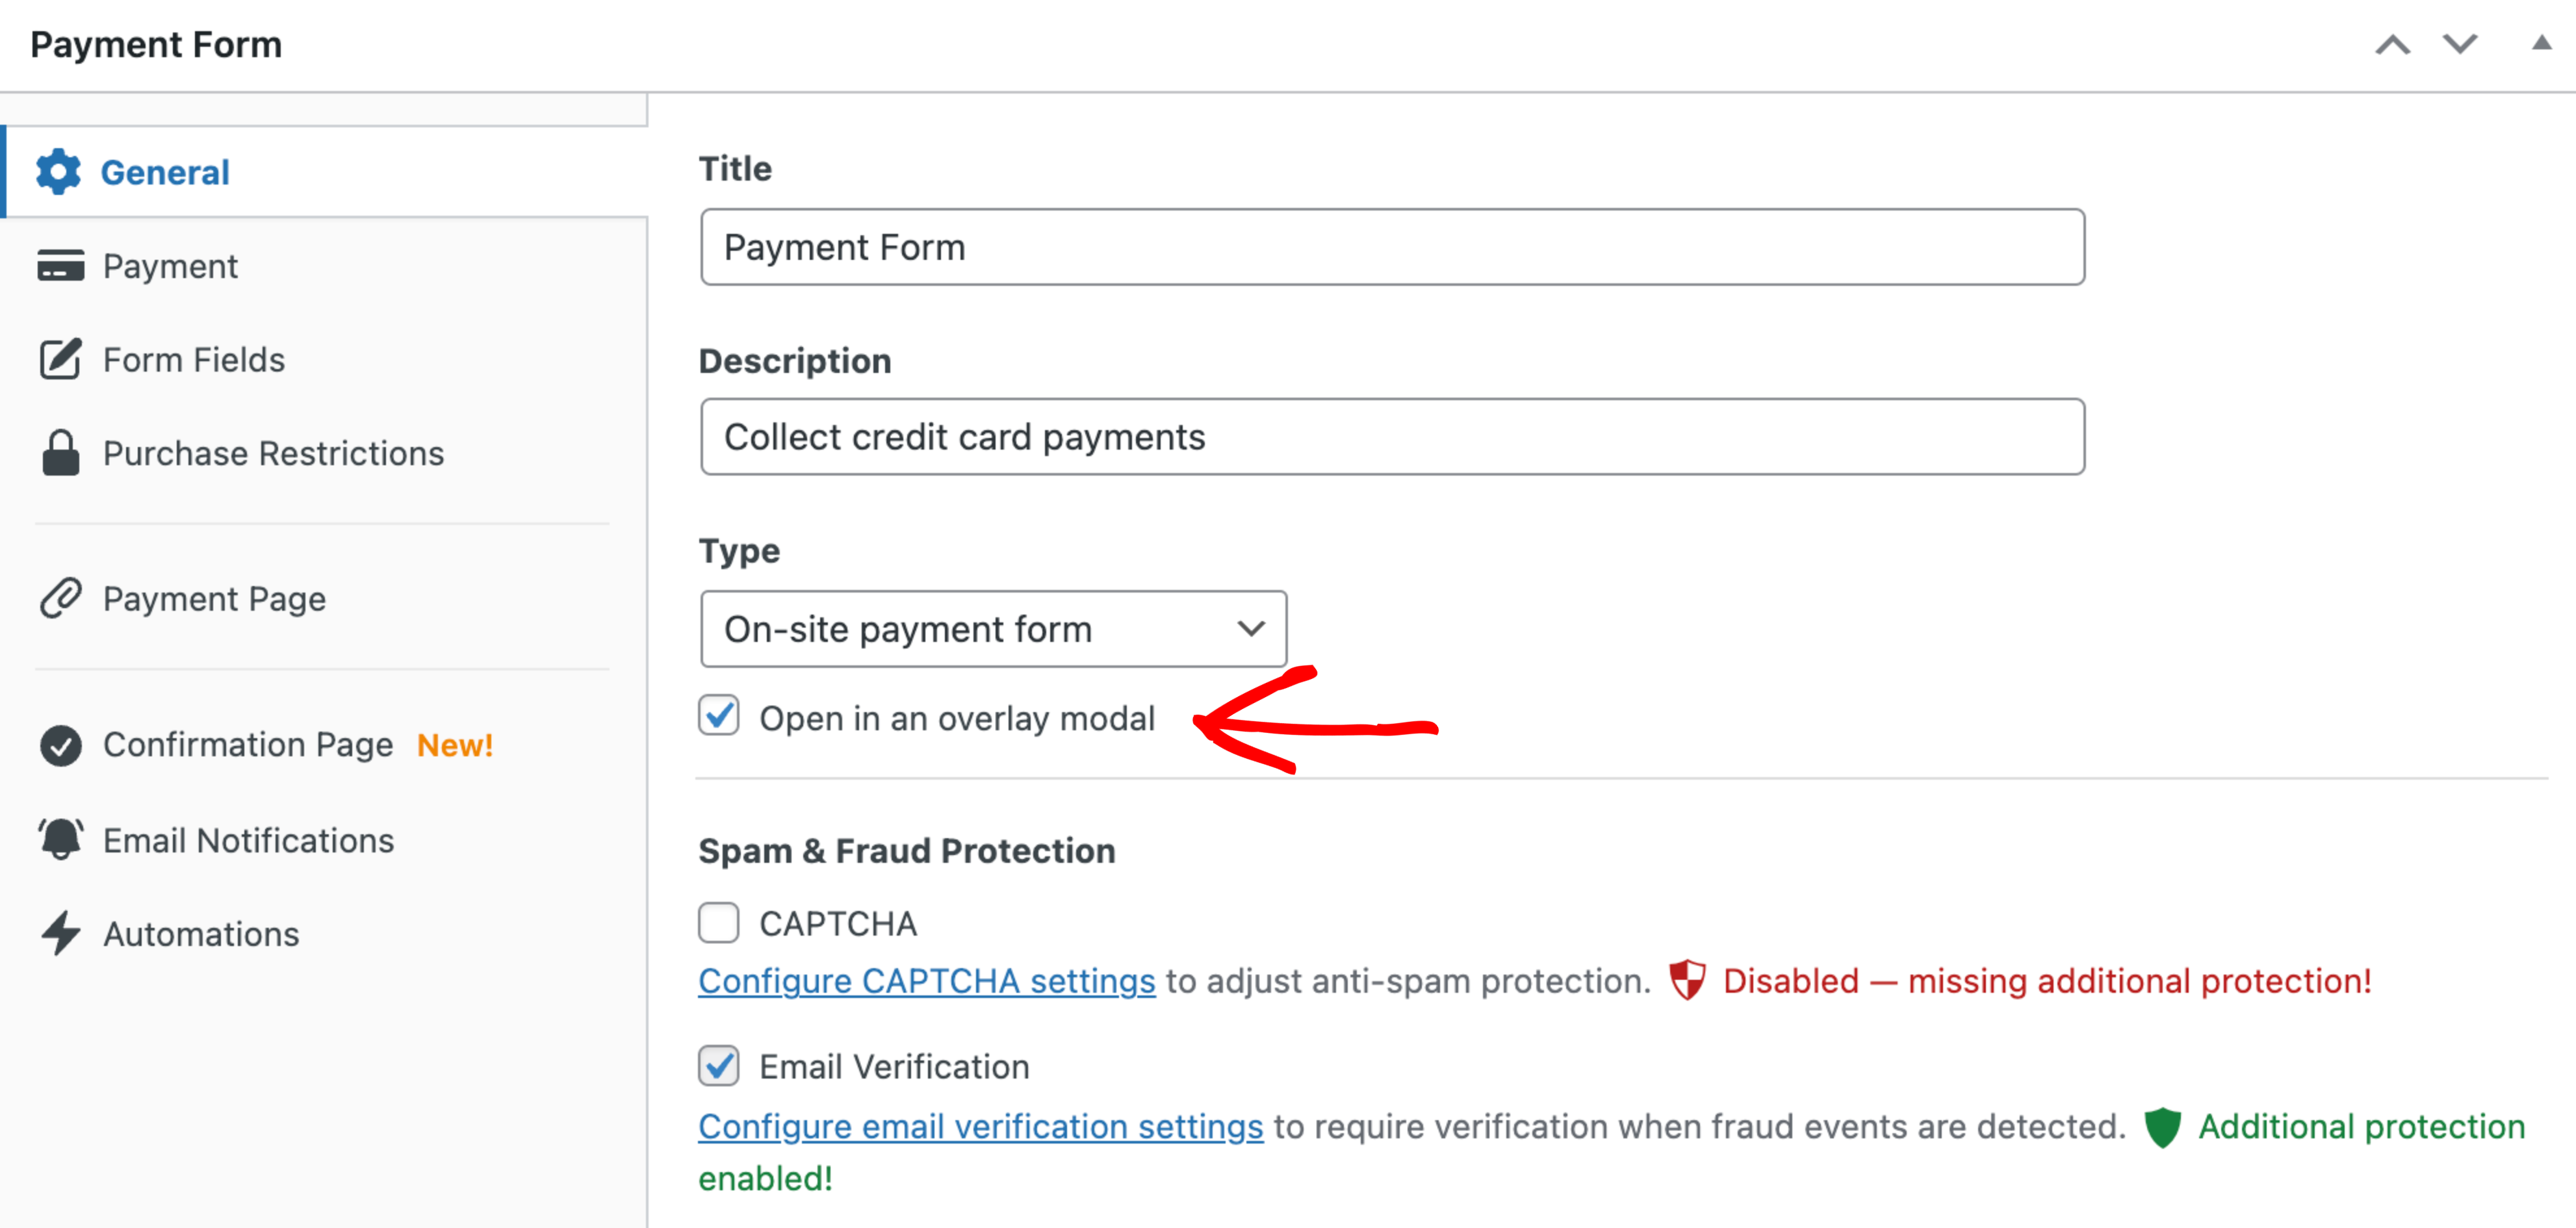
From here you can adjust the payment form’s “Payment” settings to your needs, and publish the payment form.
With your block-compatible payment form created, you’re ready to add the Button block to launch your payment form or redirect to Stripe Checkout. Visit Pages → Add New. Click the “+” icon to insert a new block, and search for “Button”.
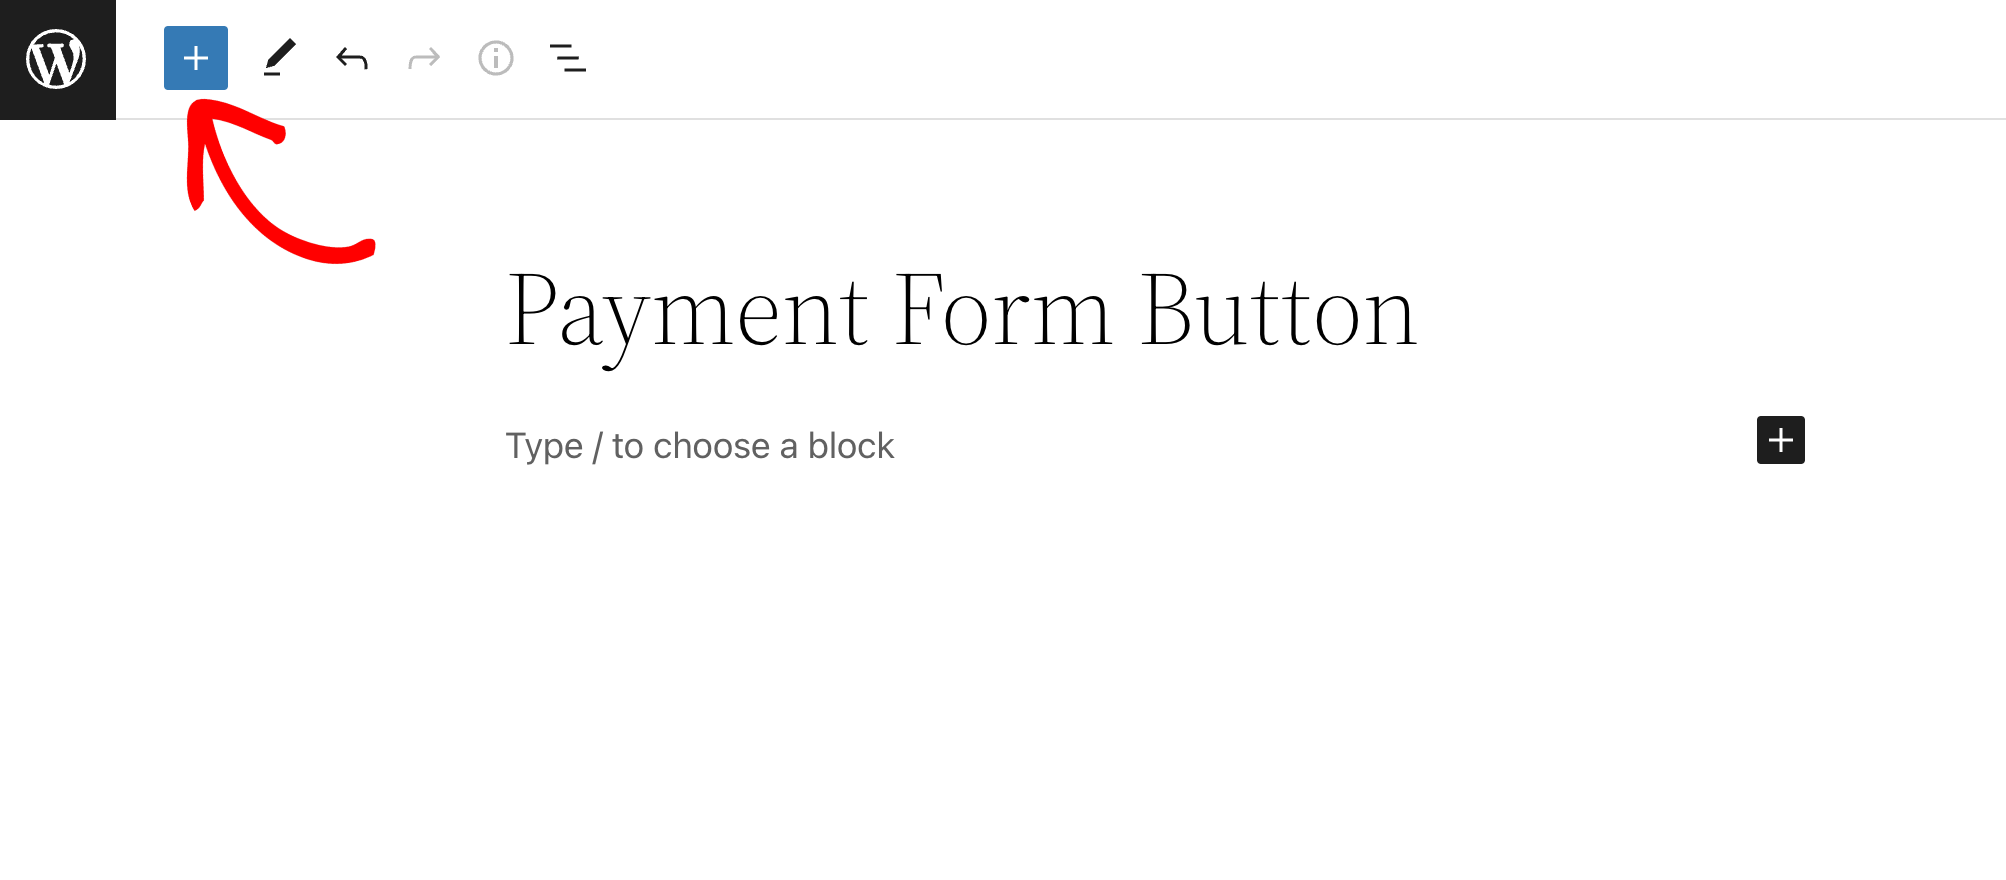
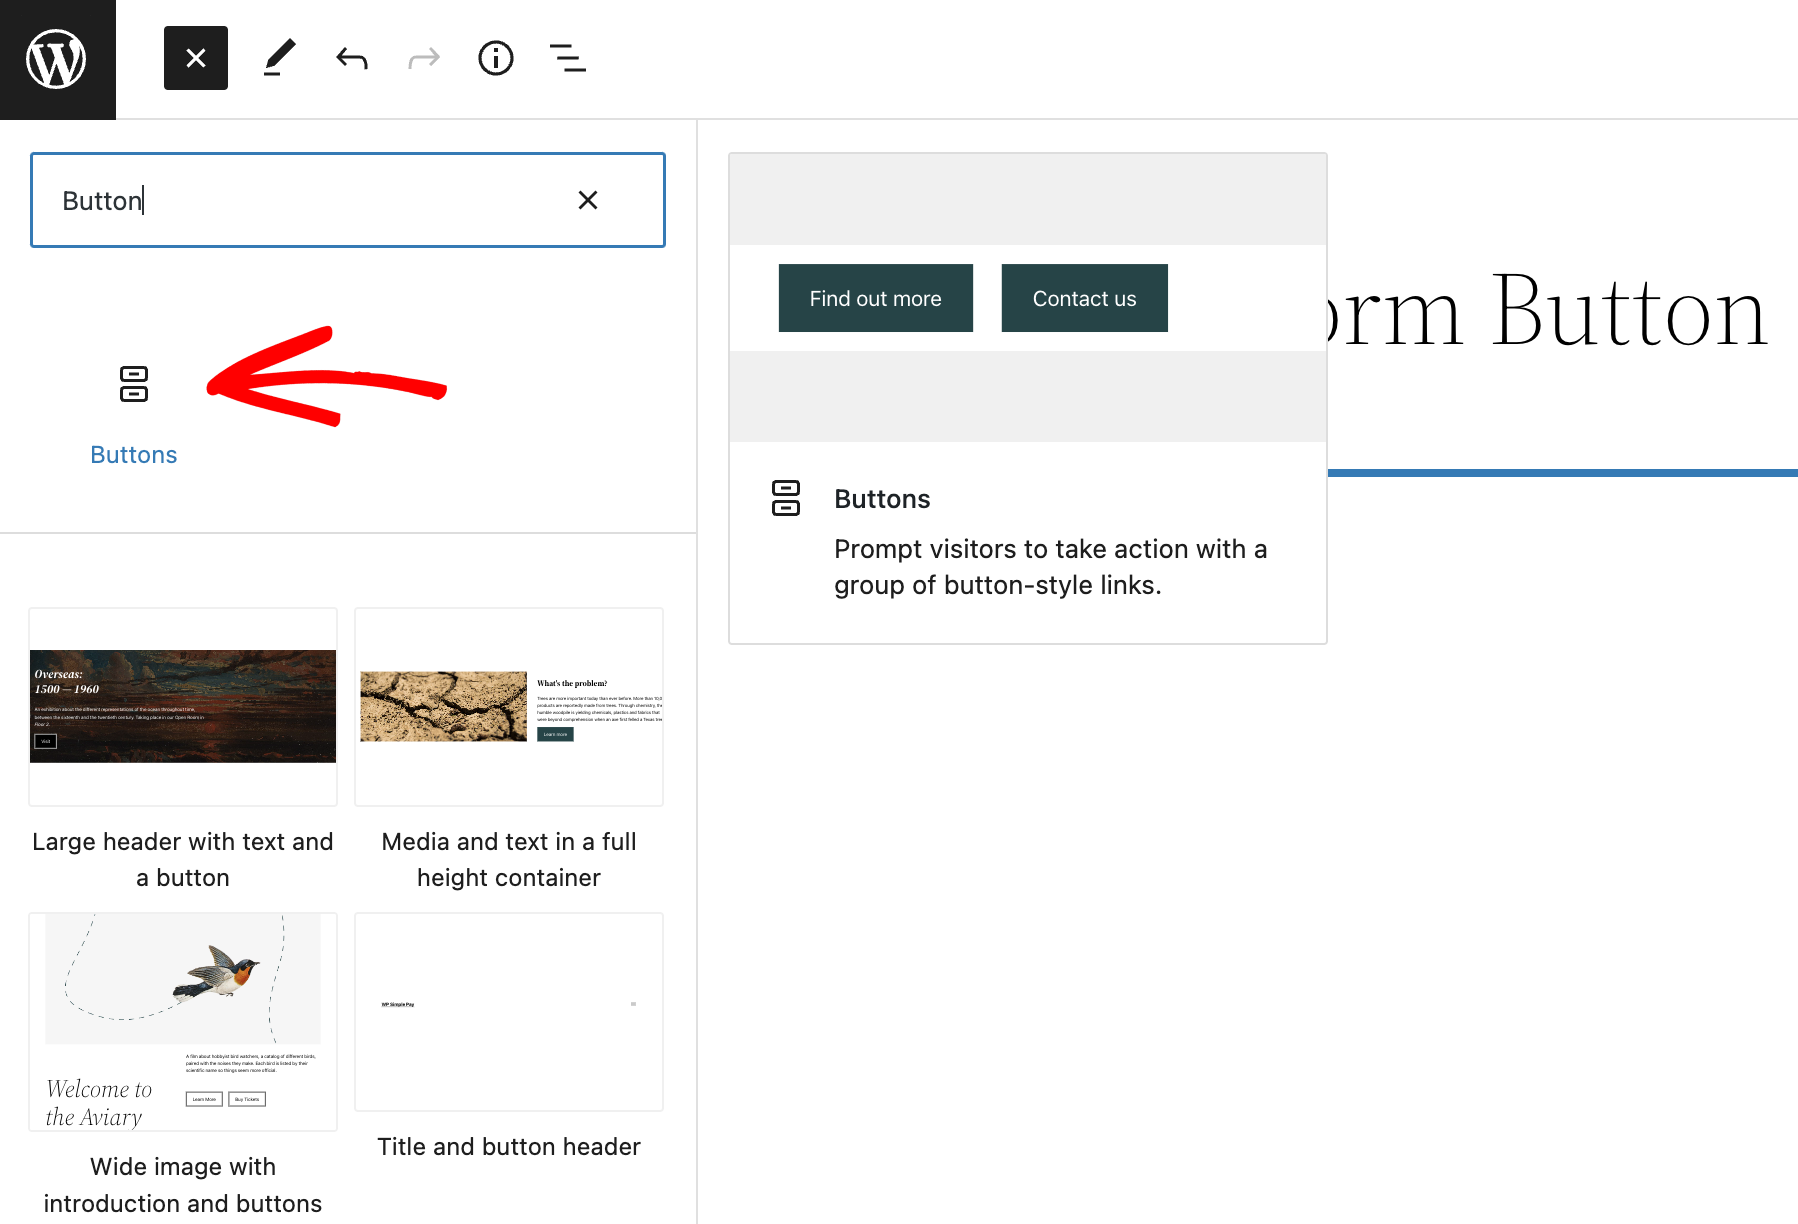
From here you can adjust any of the Button block’s settings to suite your needs.
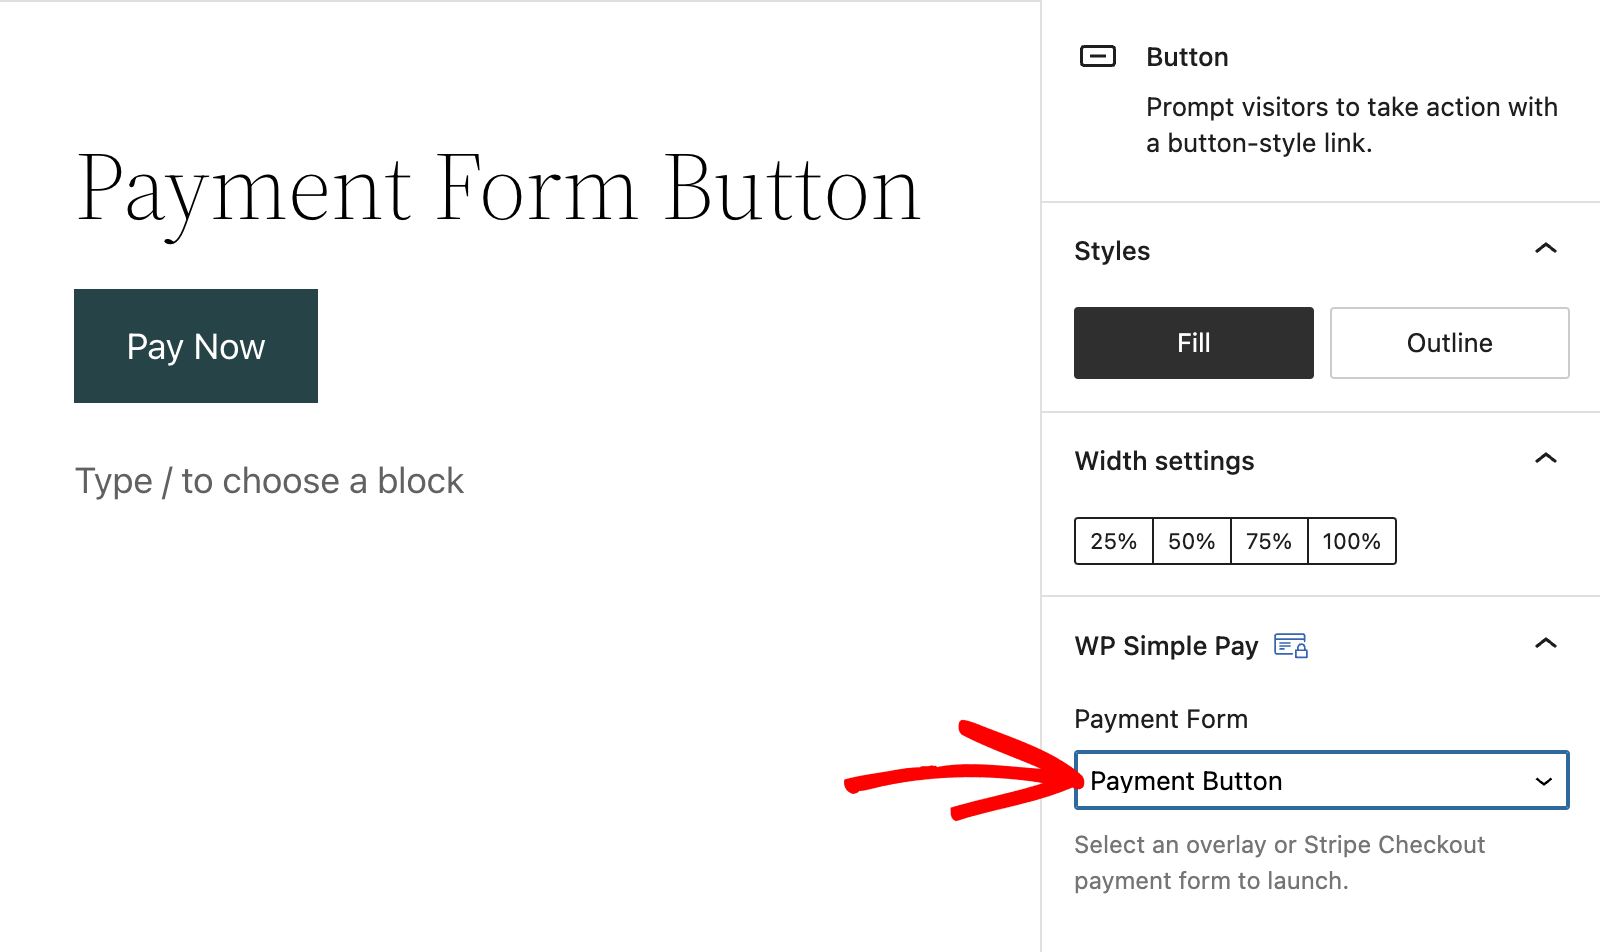
Once you have inserted and customized the Button block you can link the created payment form or payment button. In the block’s settings sidebar, select the form you would like to use in the “WP Simple Pay” panel.
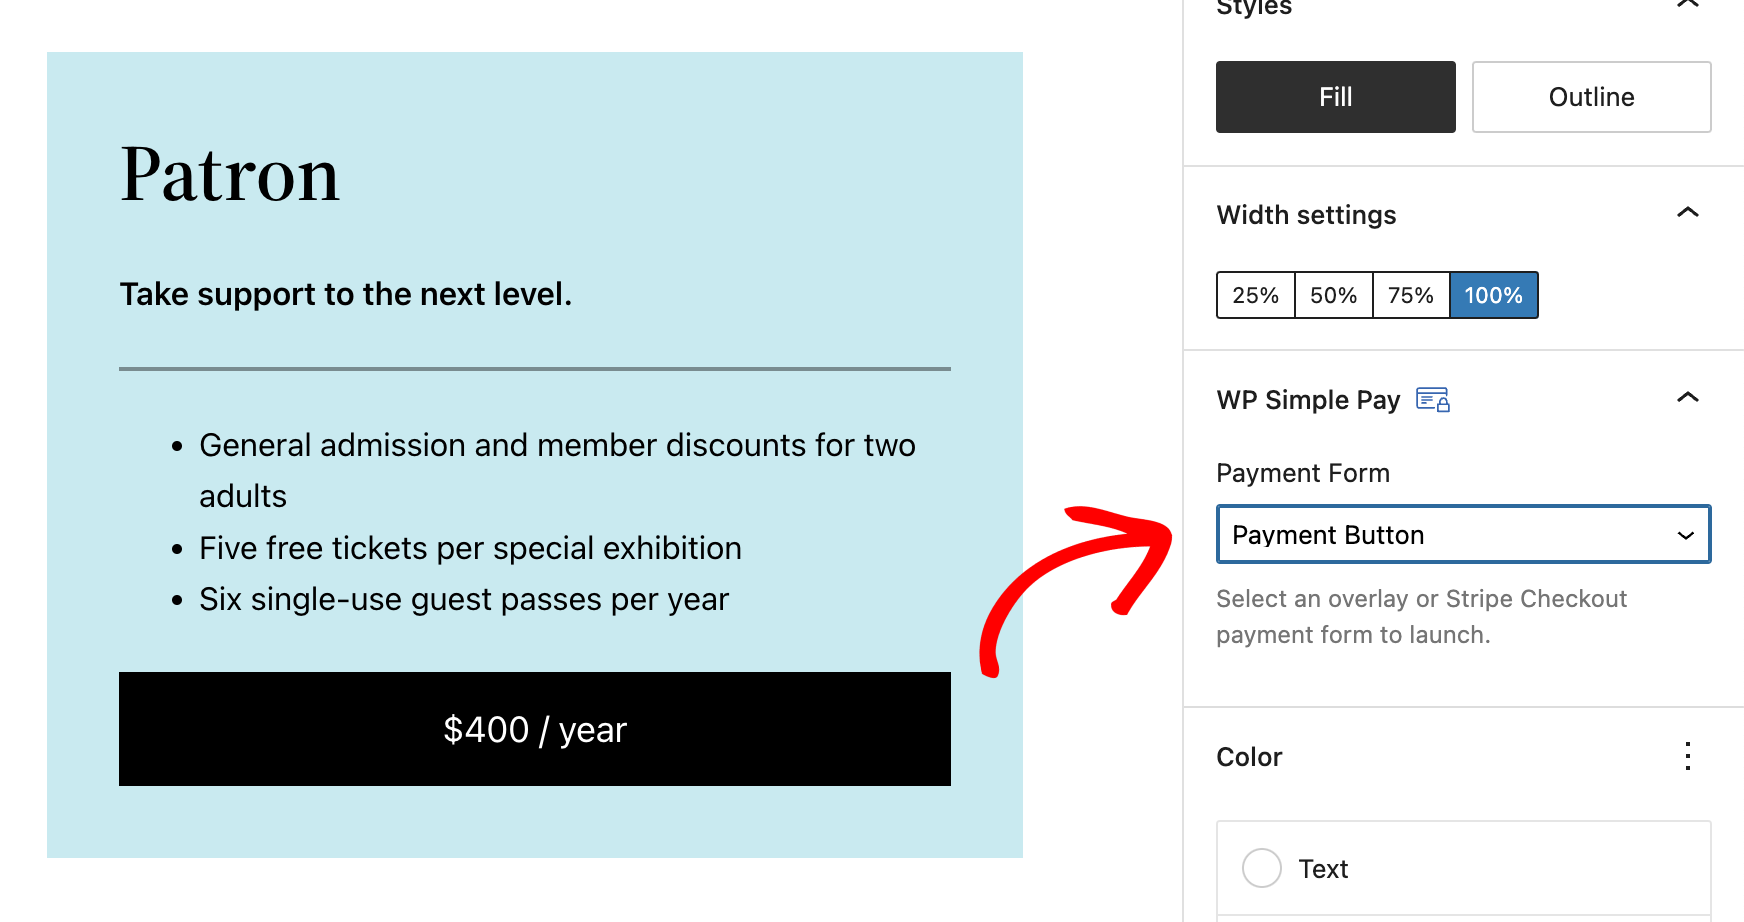
Any button block can be used to launch a compatible payment form or payment button. For example, you can use a button inside of a pricing table column:
Still have questions? We’re here to help!
Last Modified:
